Set up Your Domain with CloudFront
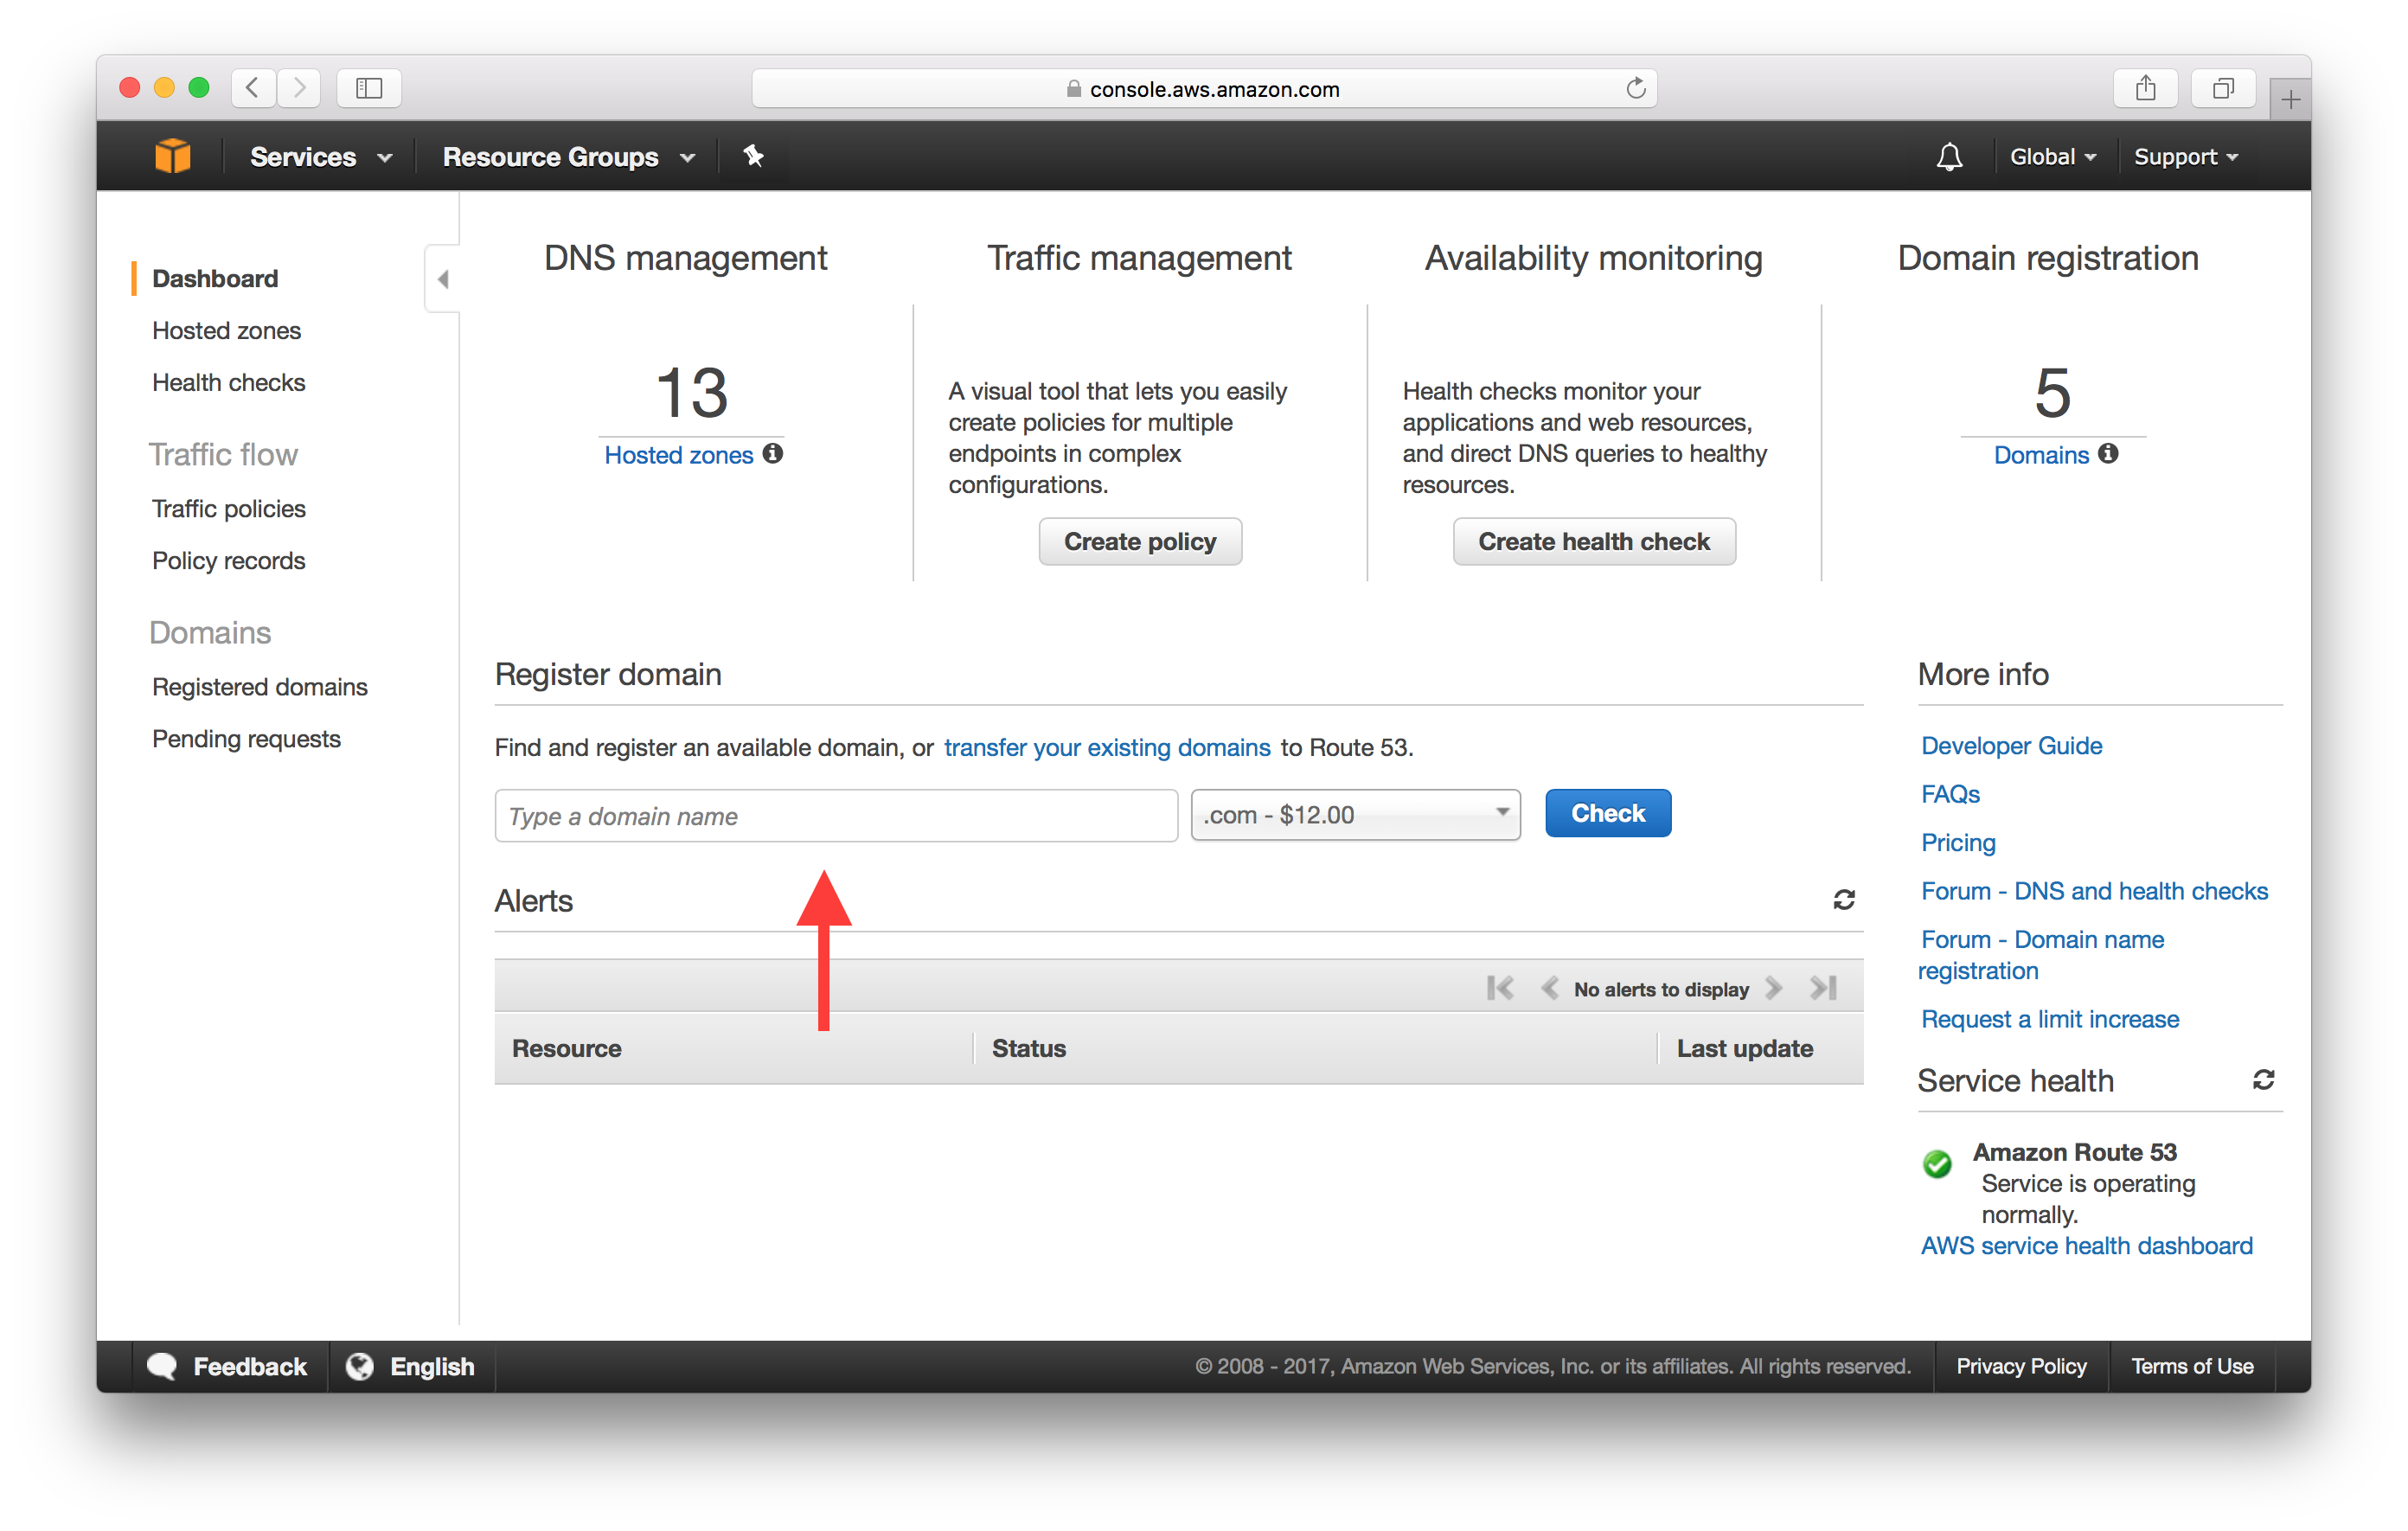
Now that we have our CloudFront distribution live, let’s set up our domain with it. You can purchase a domain right from the AWS Console by heading to the Route 53 section in the list of services.

Purchase a Domain with Route 53
Type in your domain in the Register domain section and click Check.
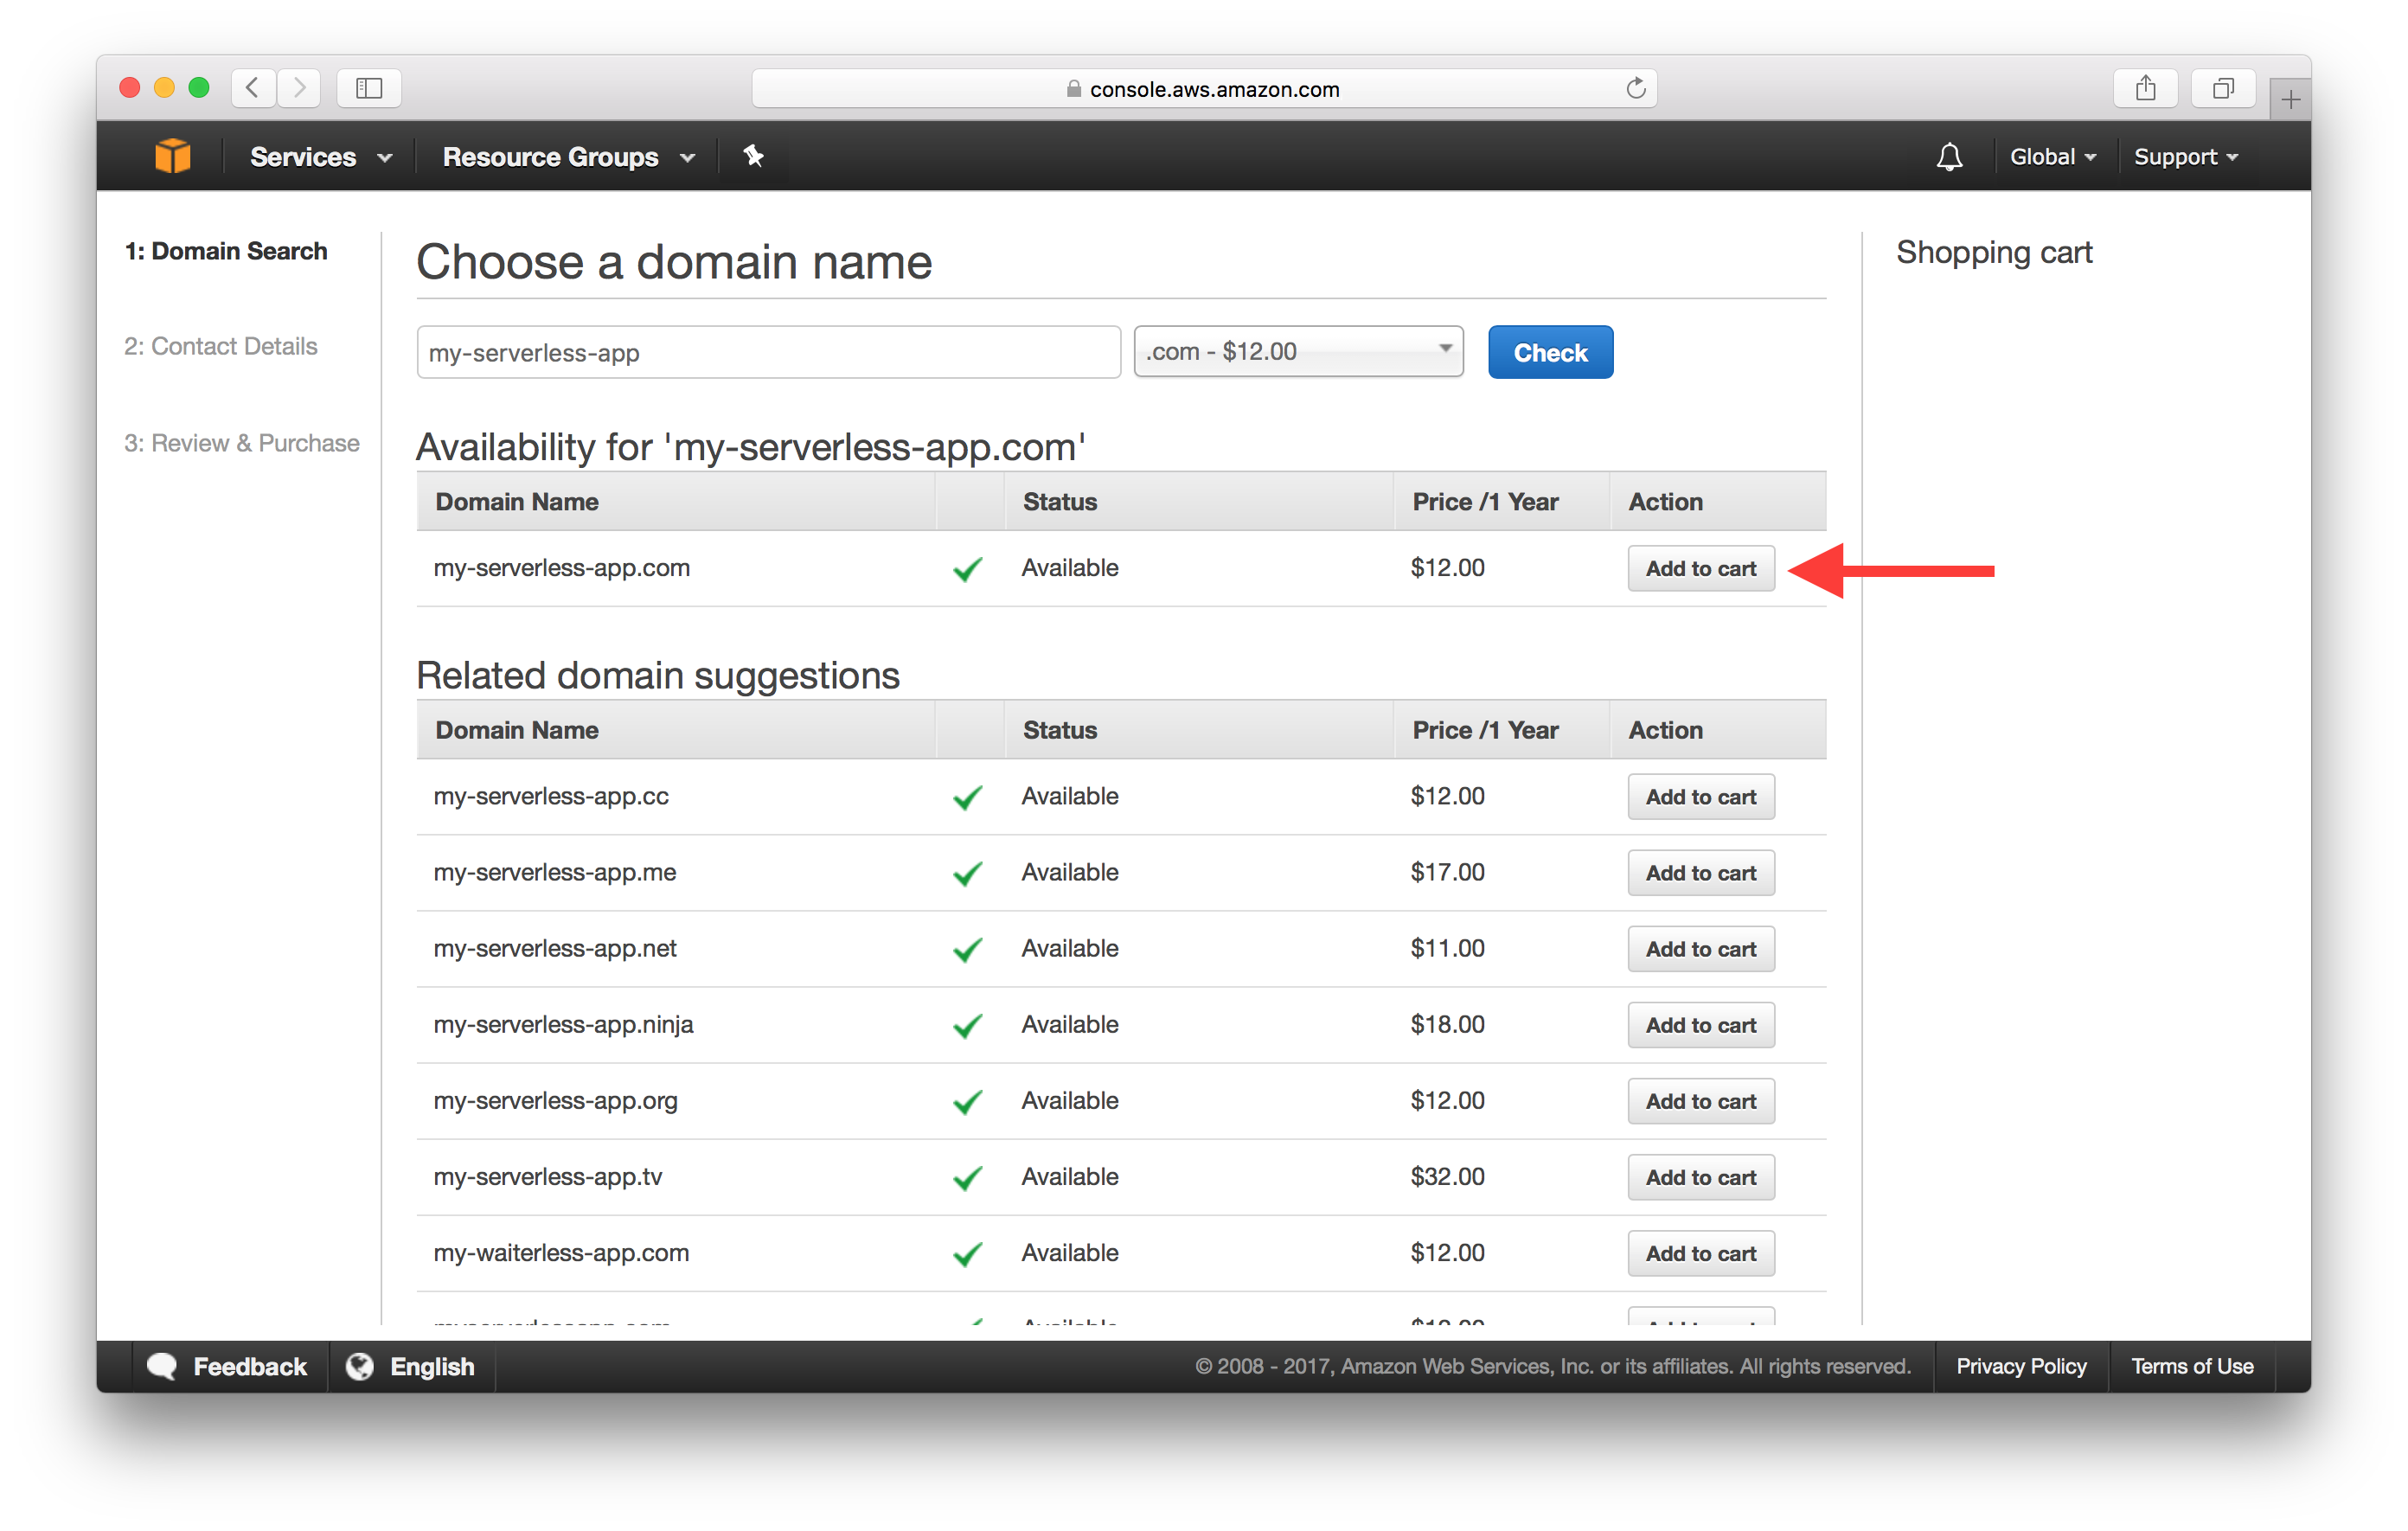
After checking its availability, click Add to cart.
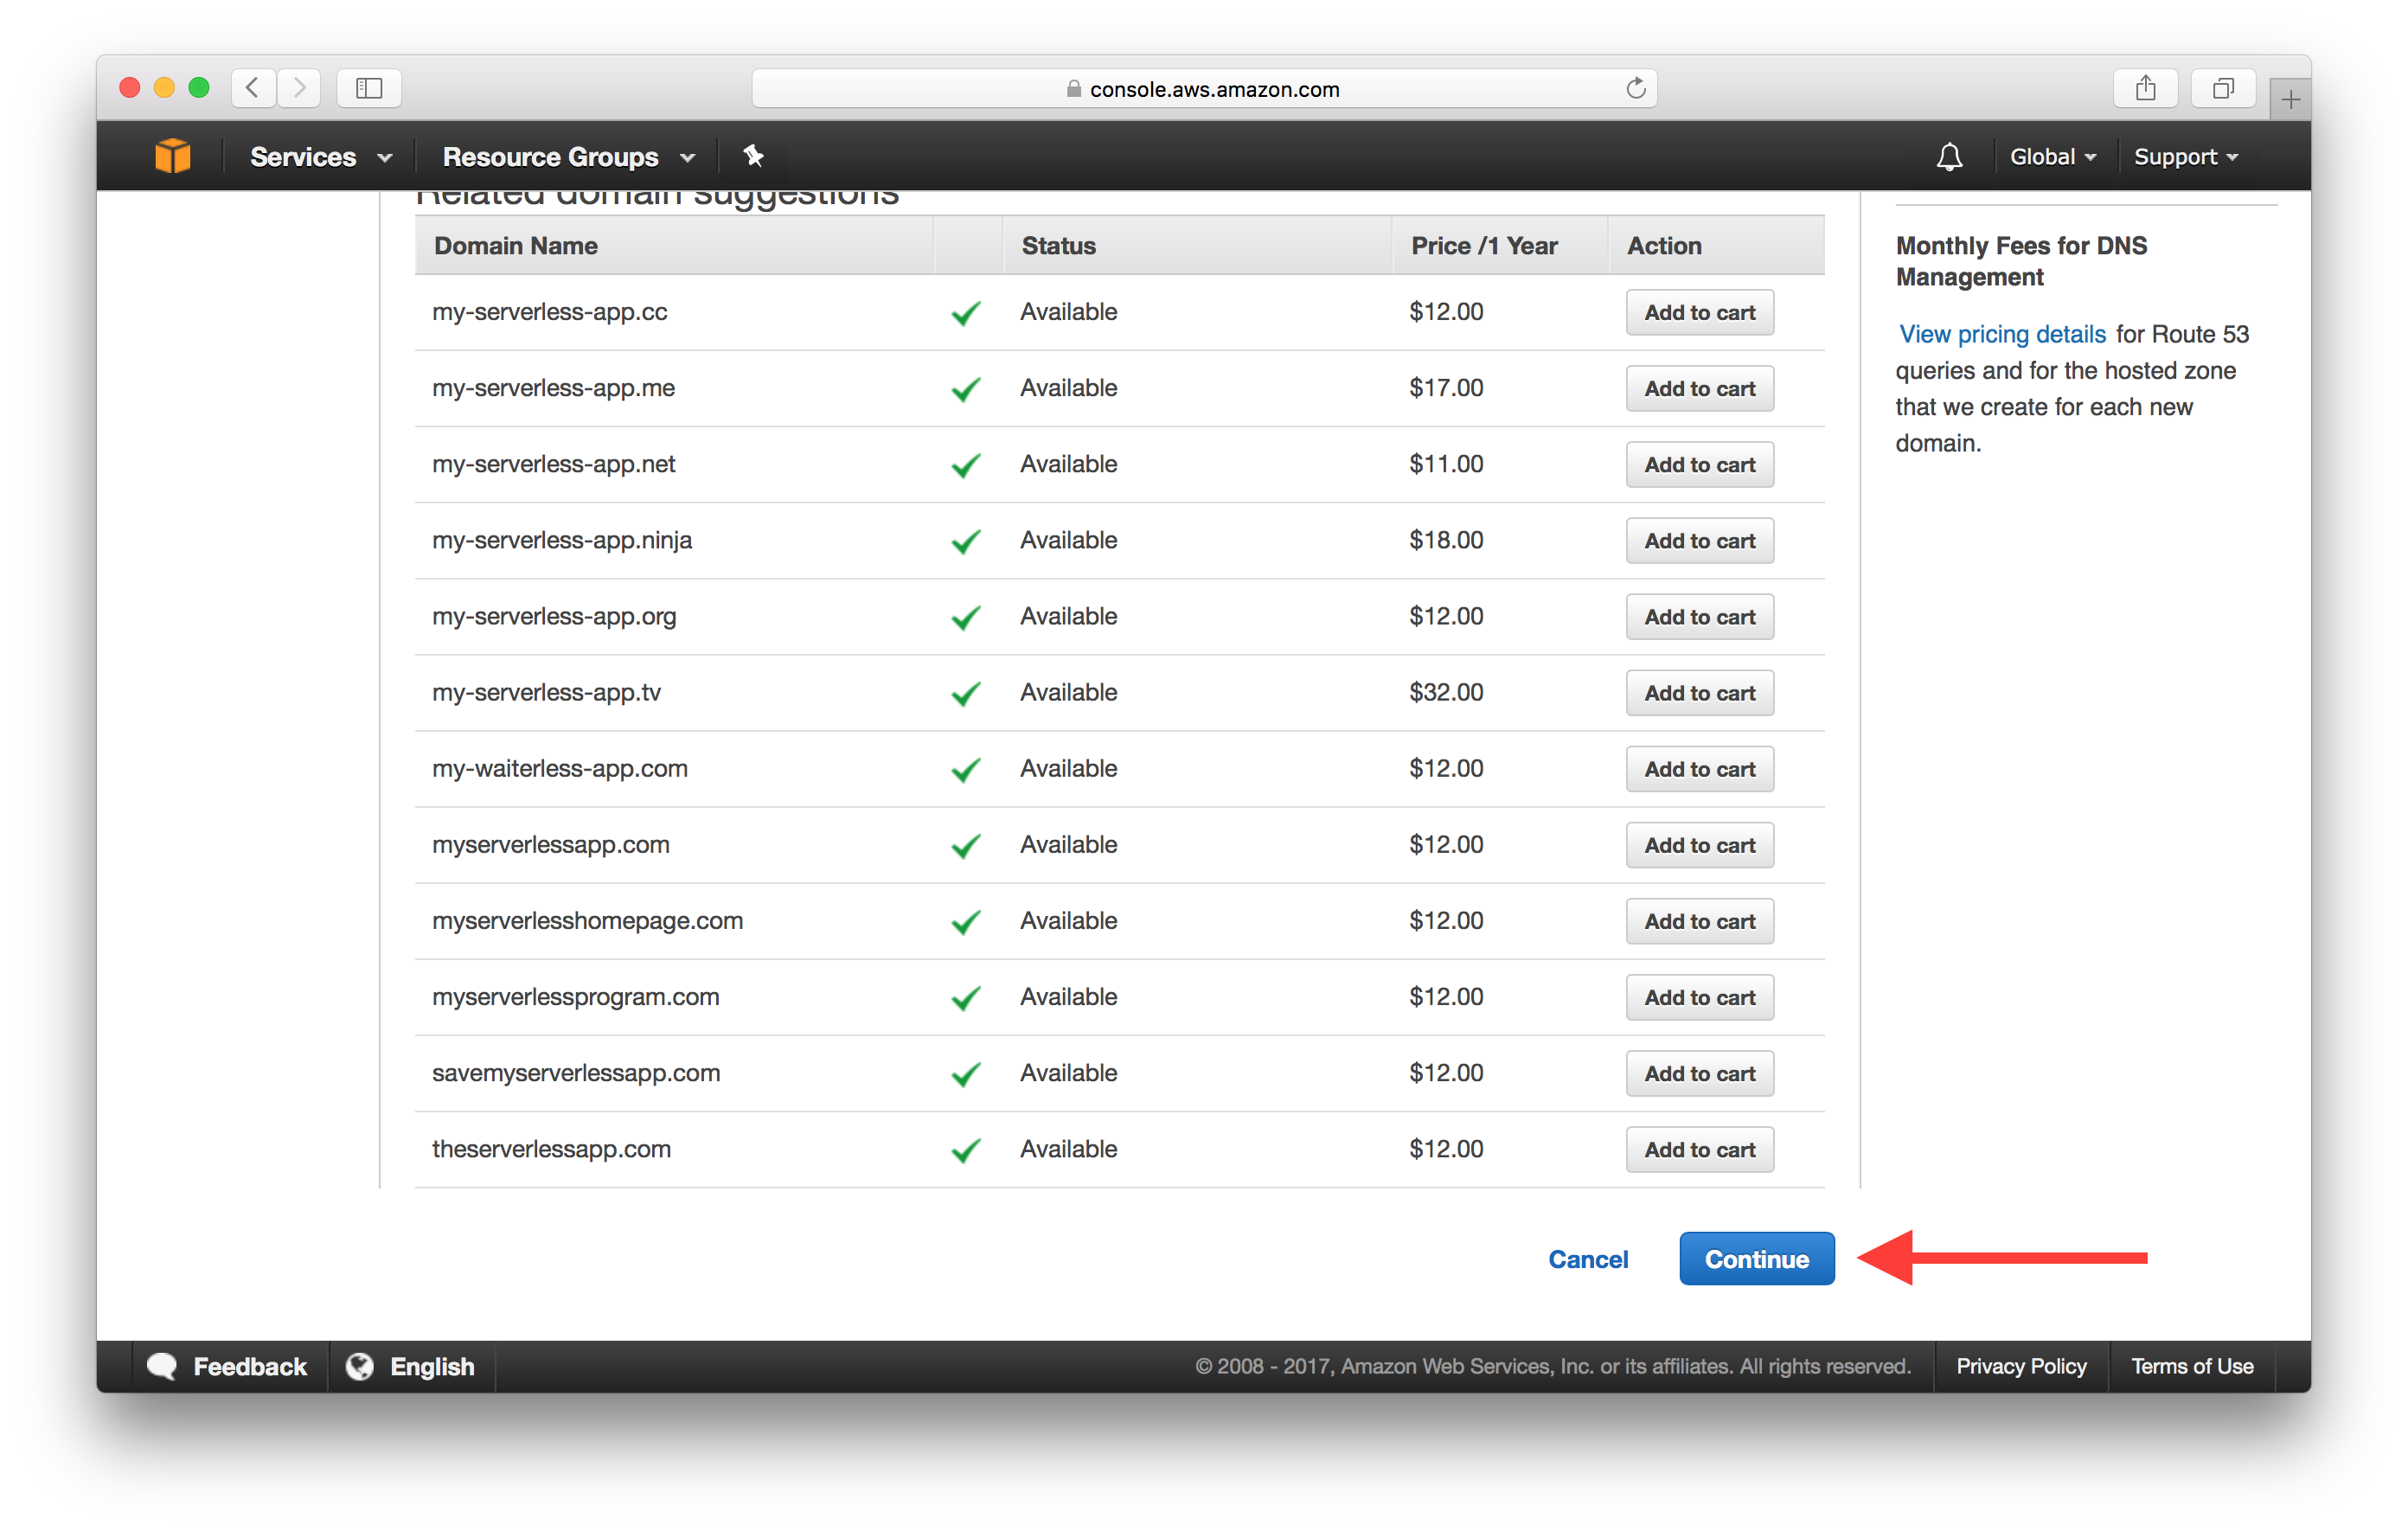
And hit Continue at the bottom of the page.
Fill in your contact details and hit Continue once again.
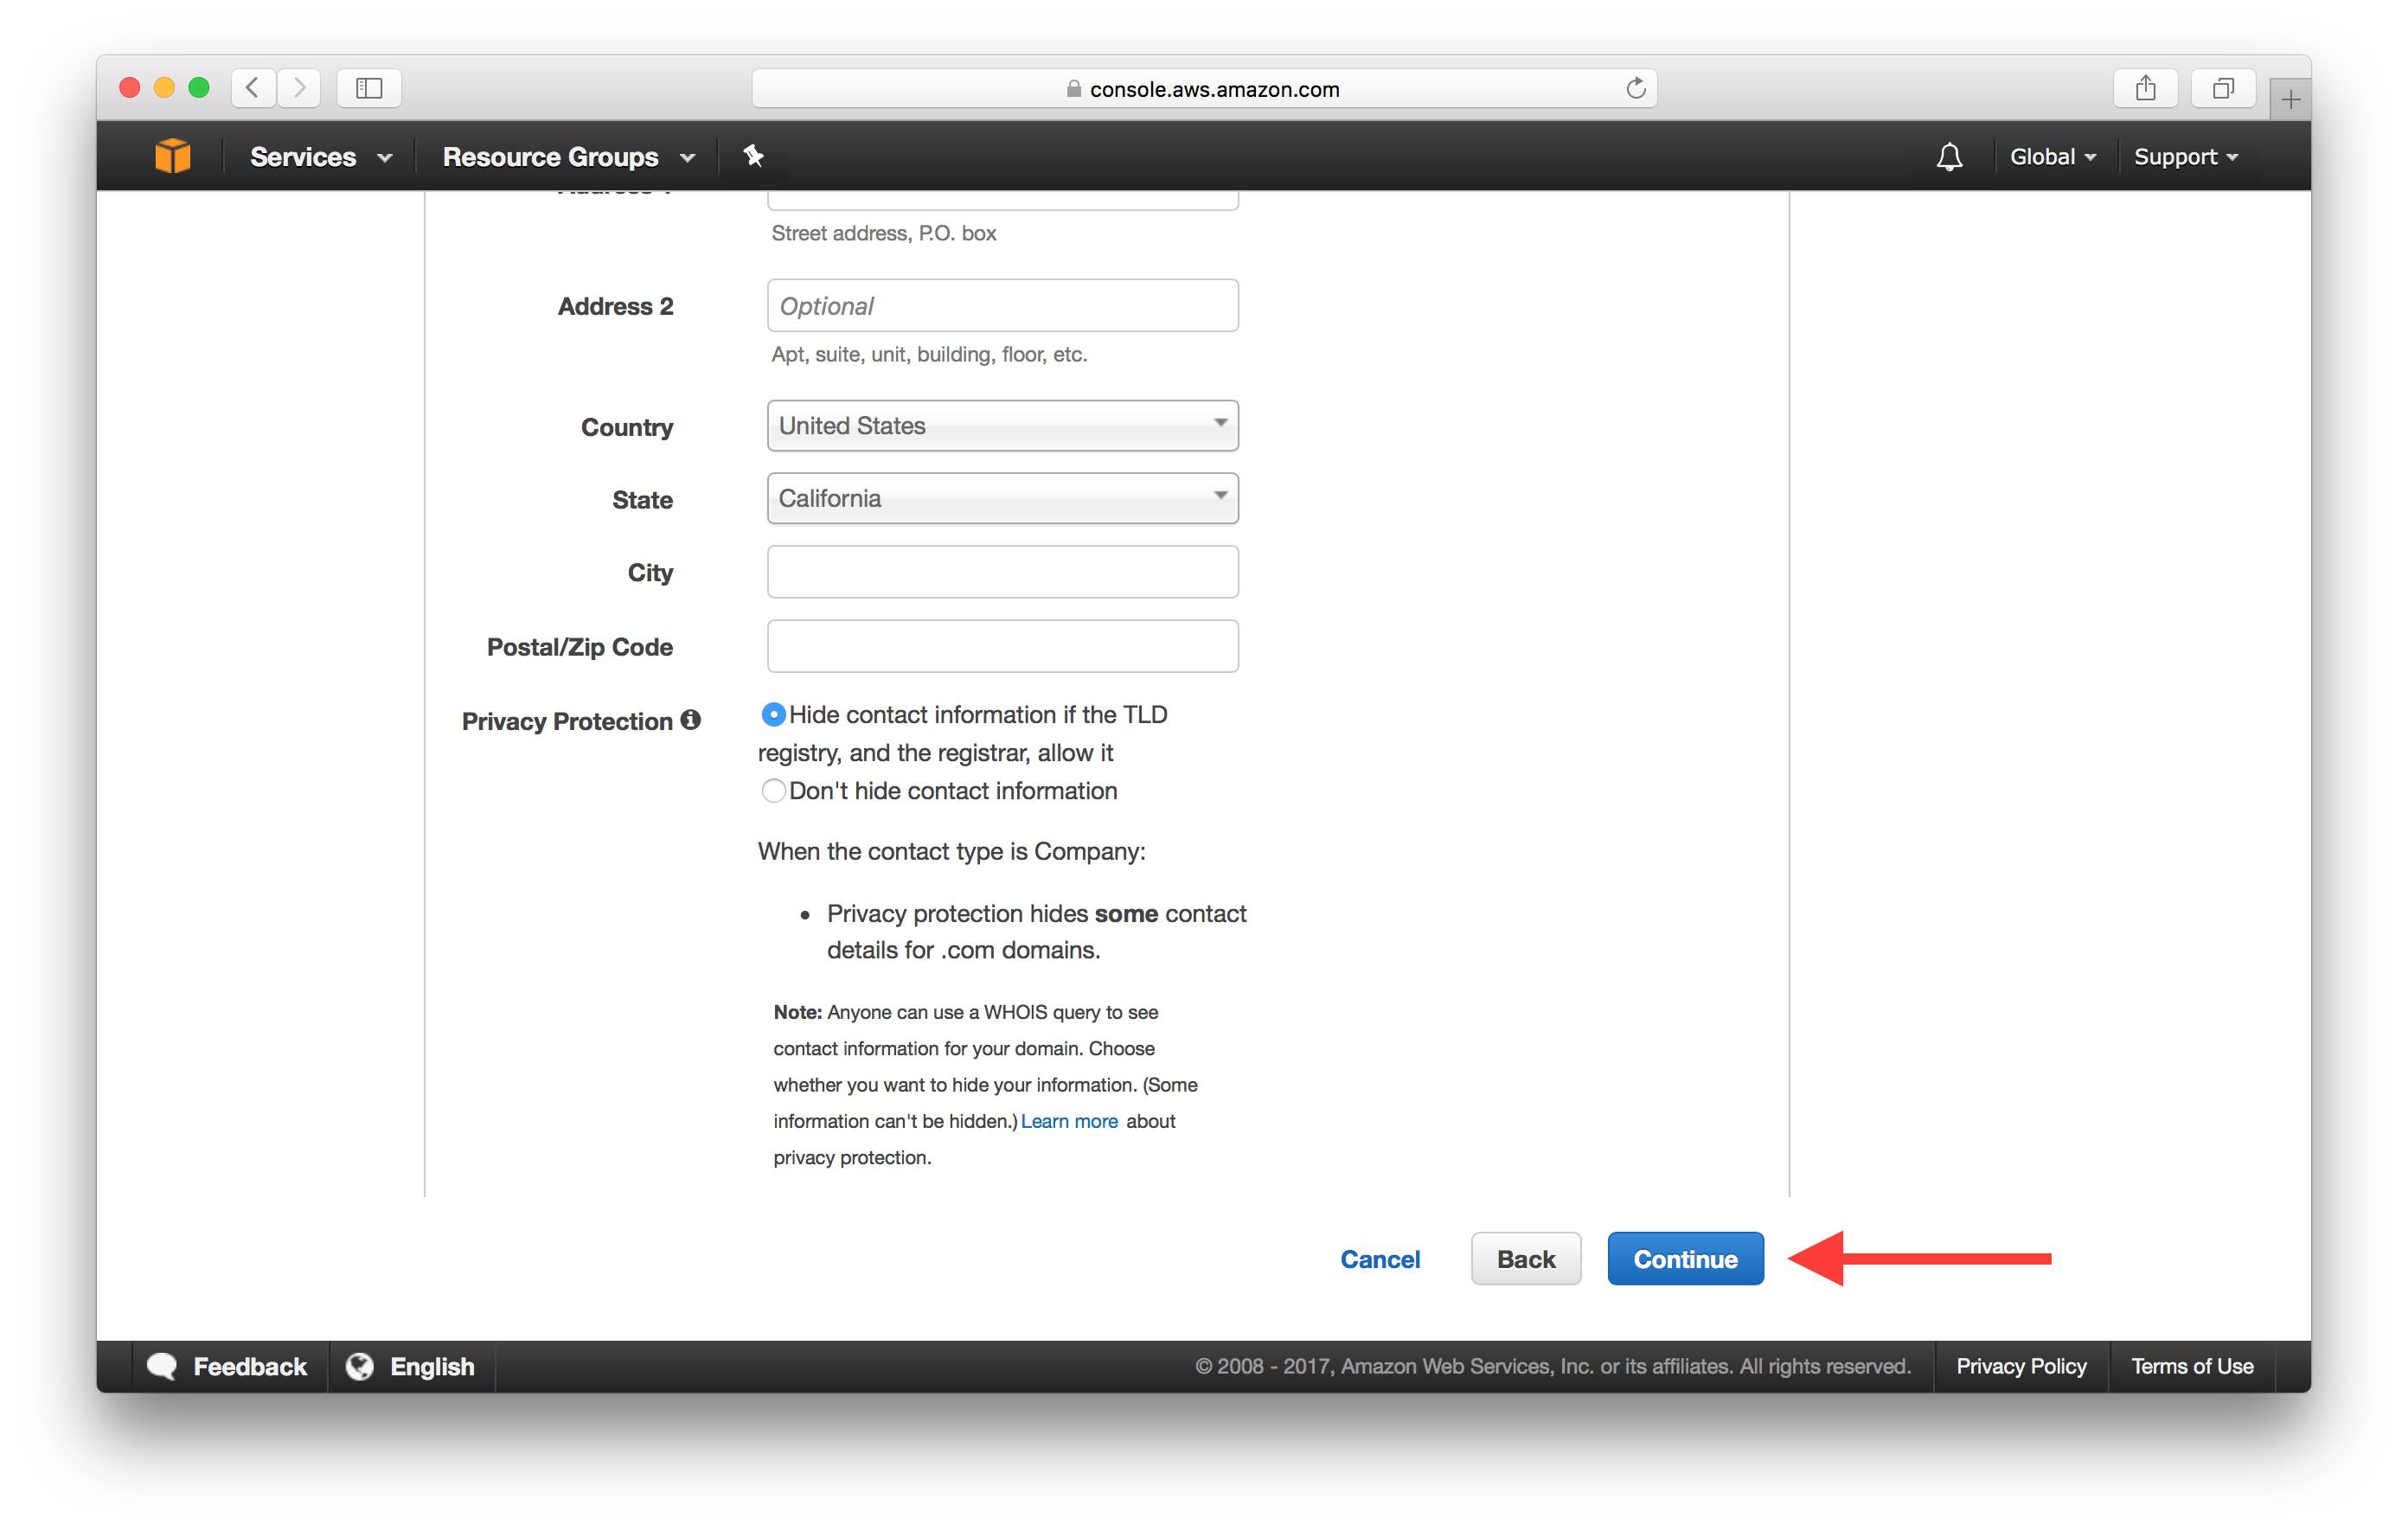
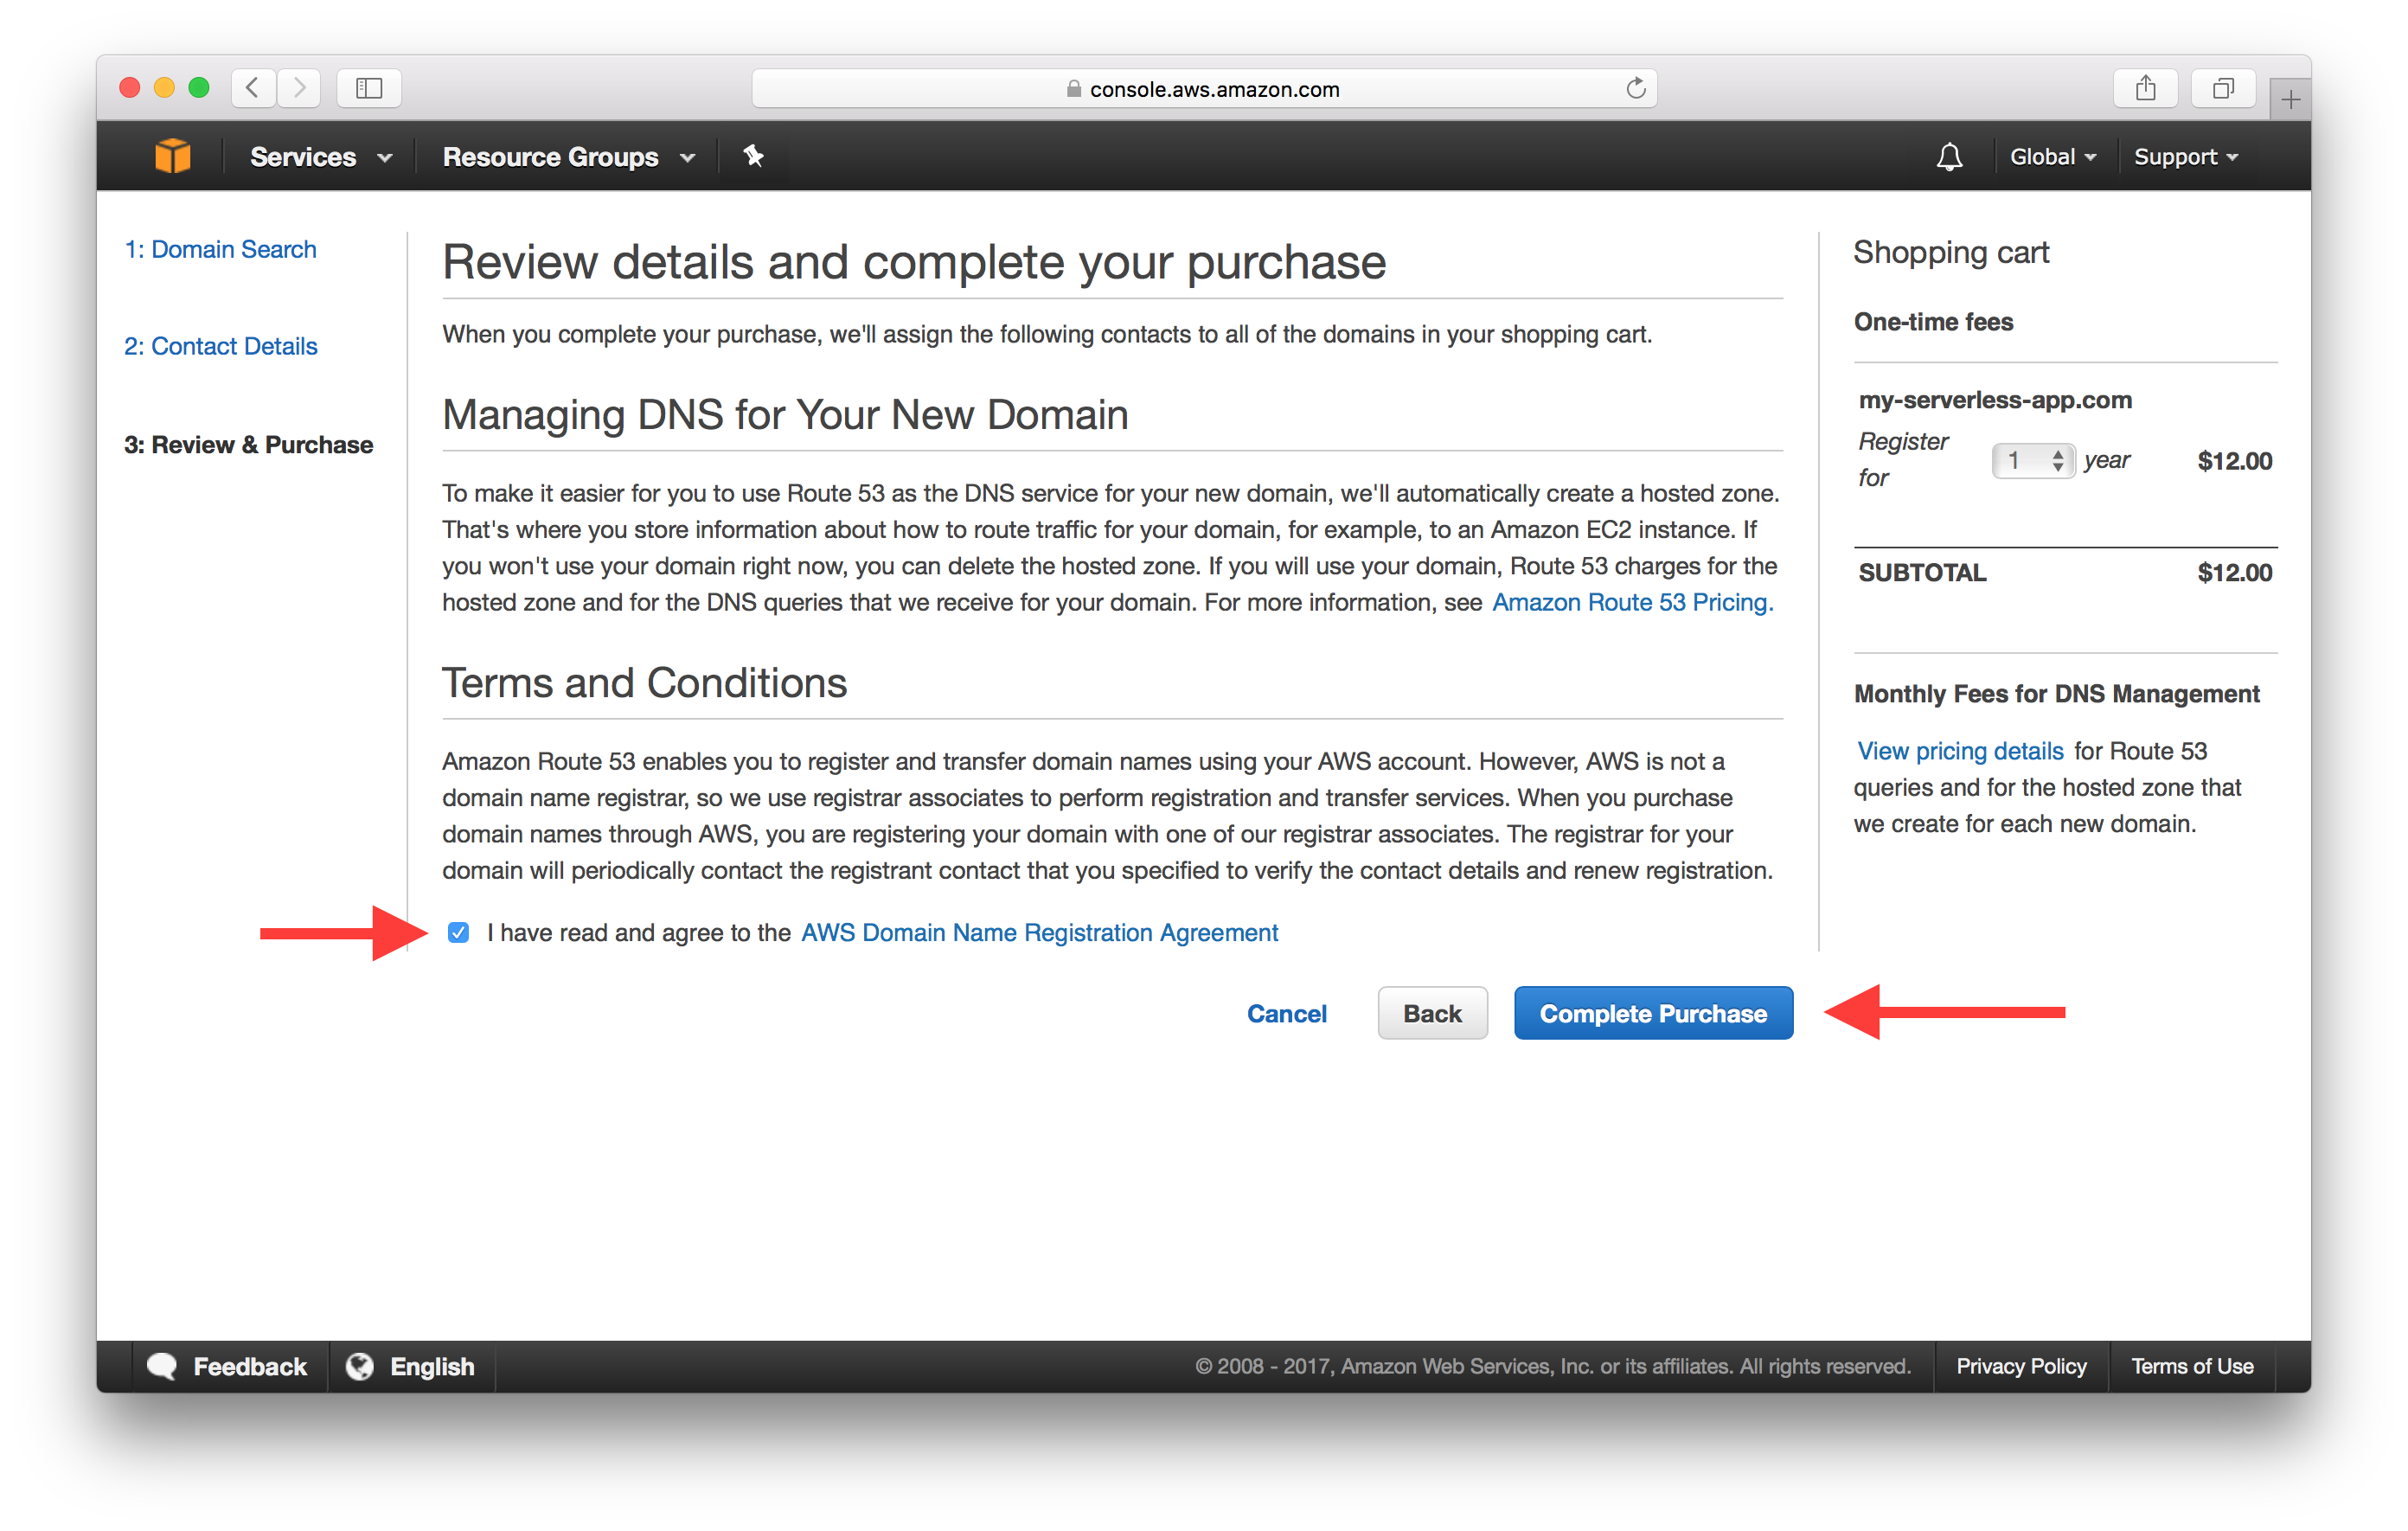
Finally, review your details and confirm the purchase by hitting Complete Purchase.
Next, we’ll add an alternate domain name for our CloudFront Distribution.
Add Alternate Domain for CloudFront Distribution
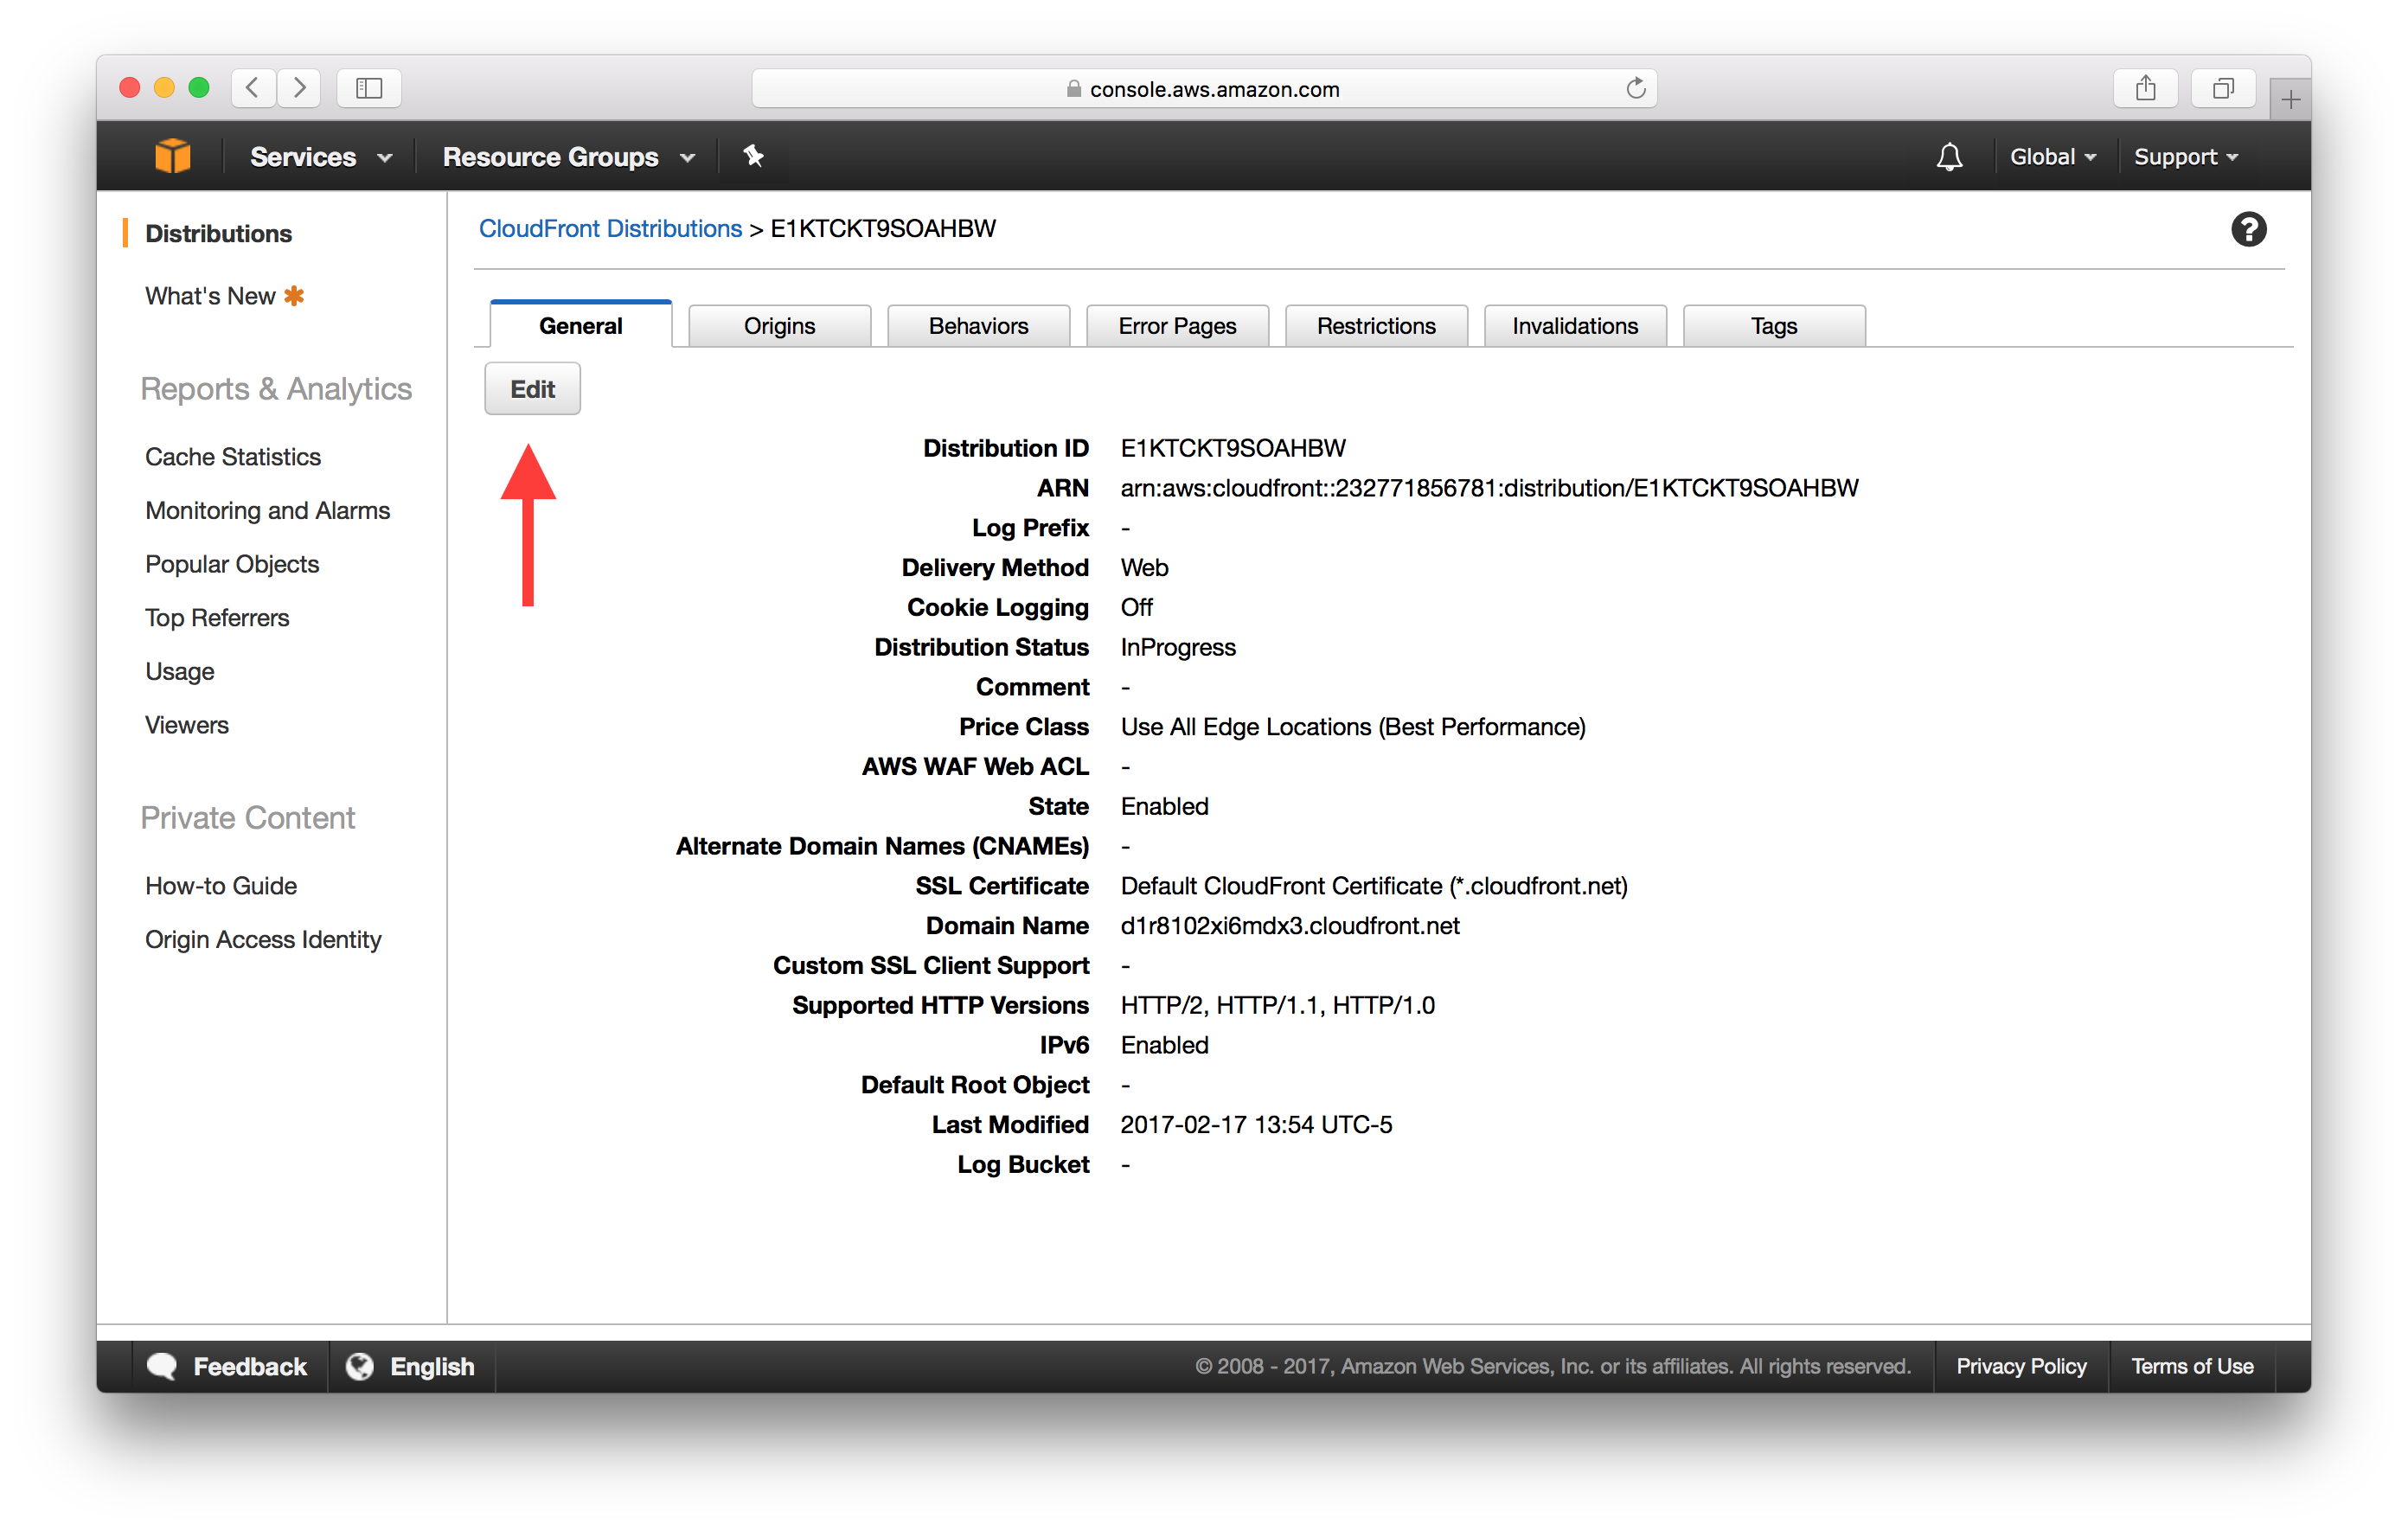
Head over to the details of your CloudFront Distribution and hit Edit.
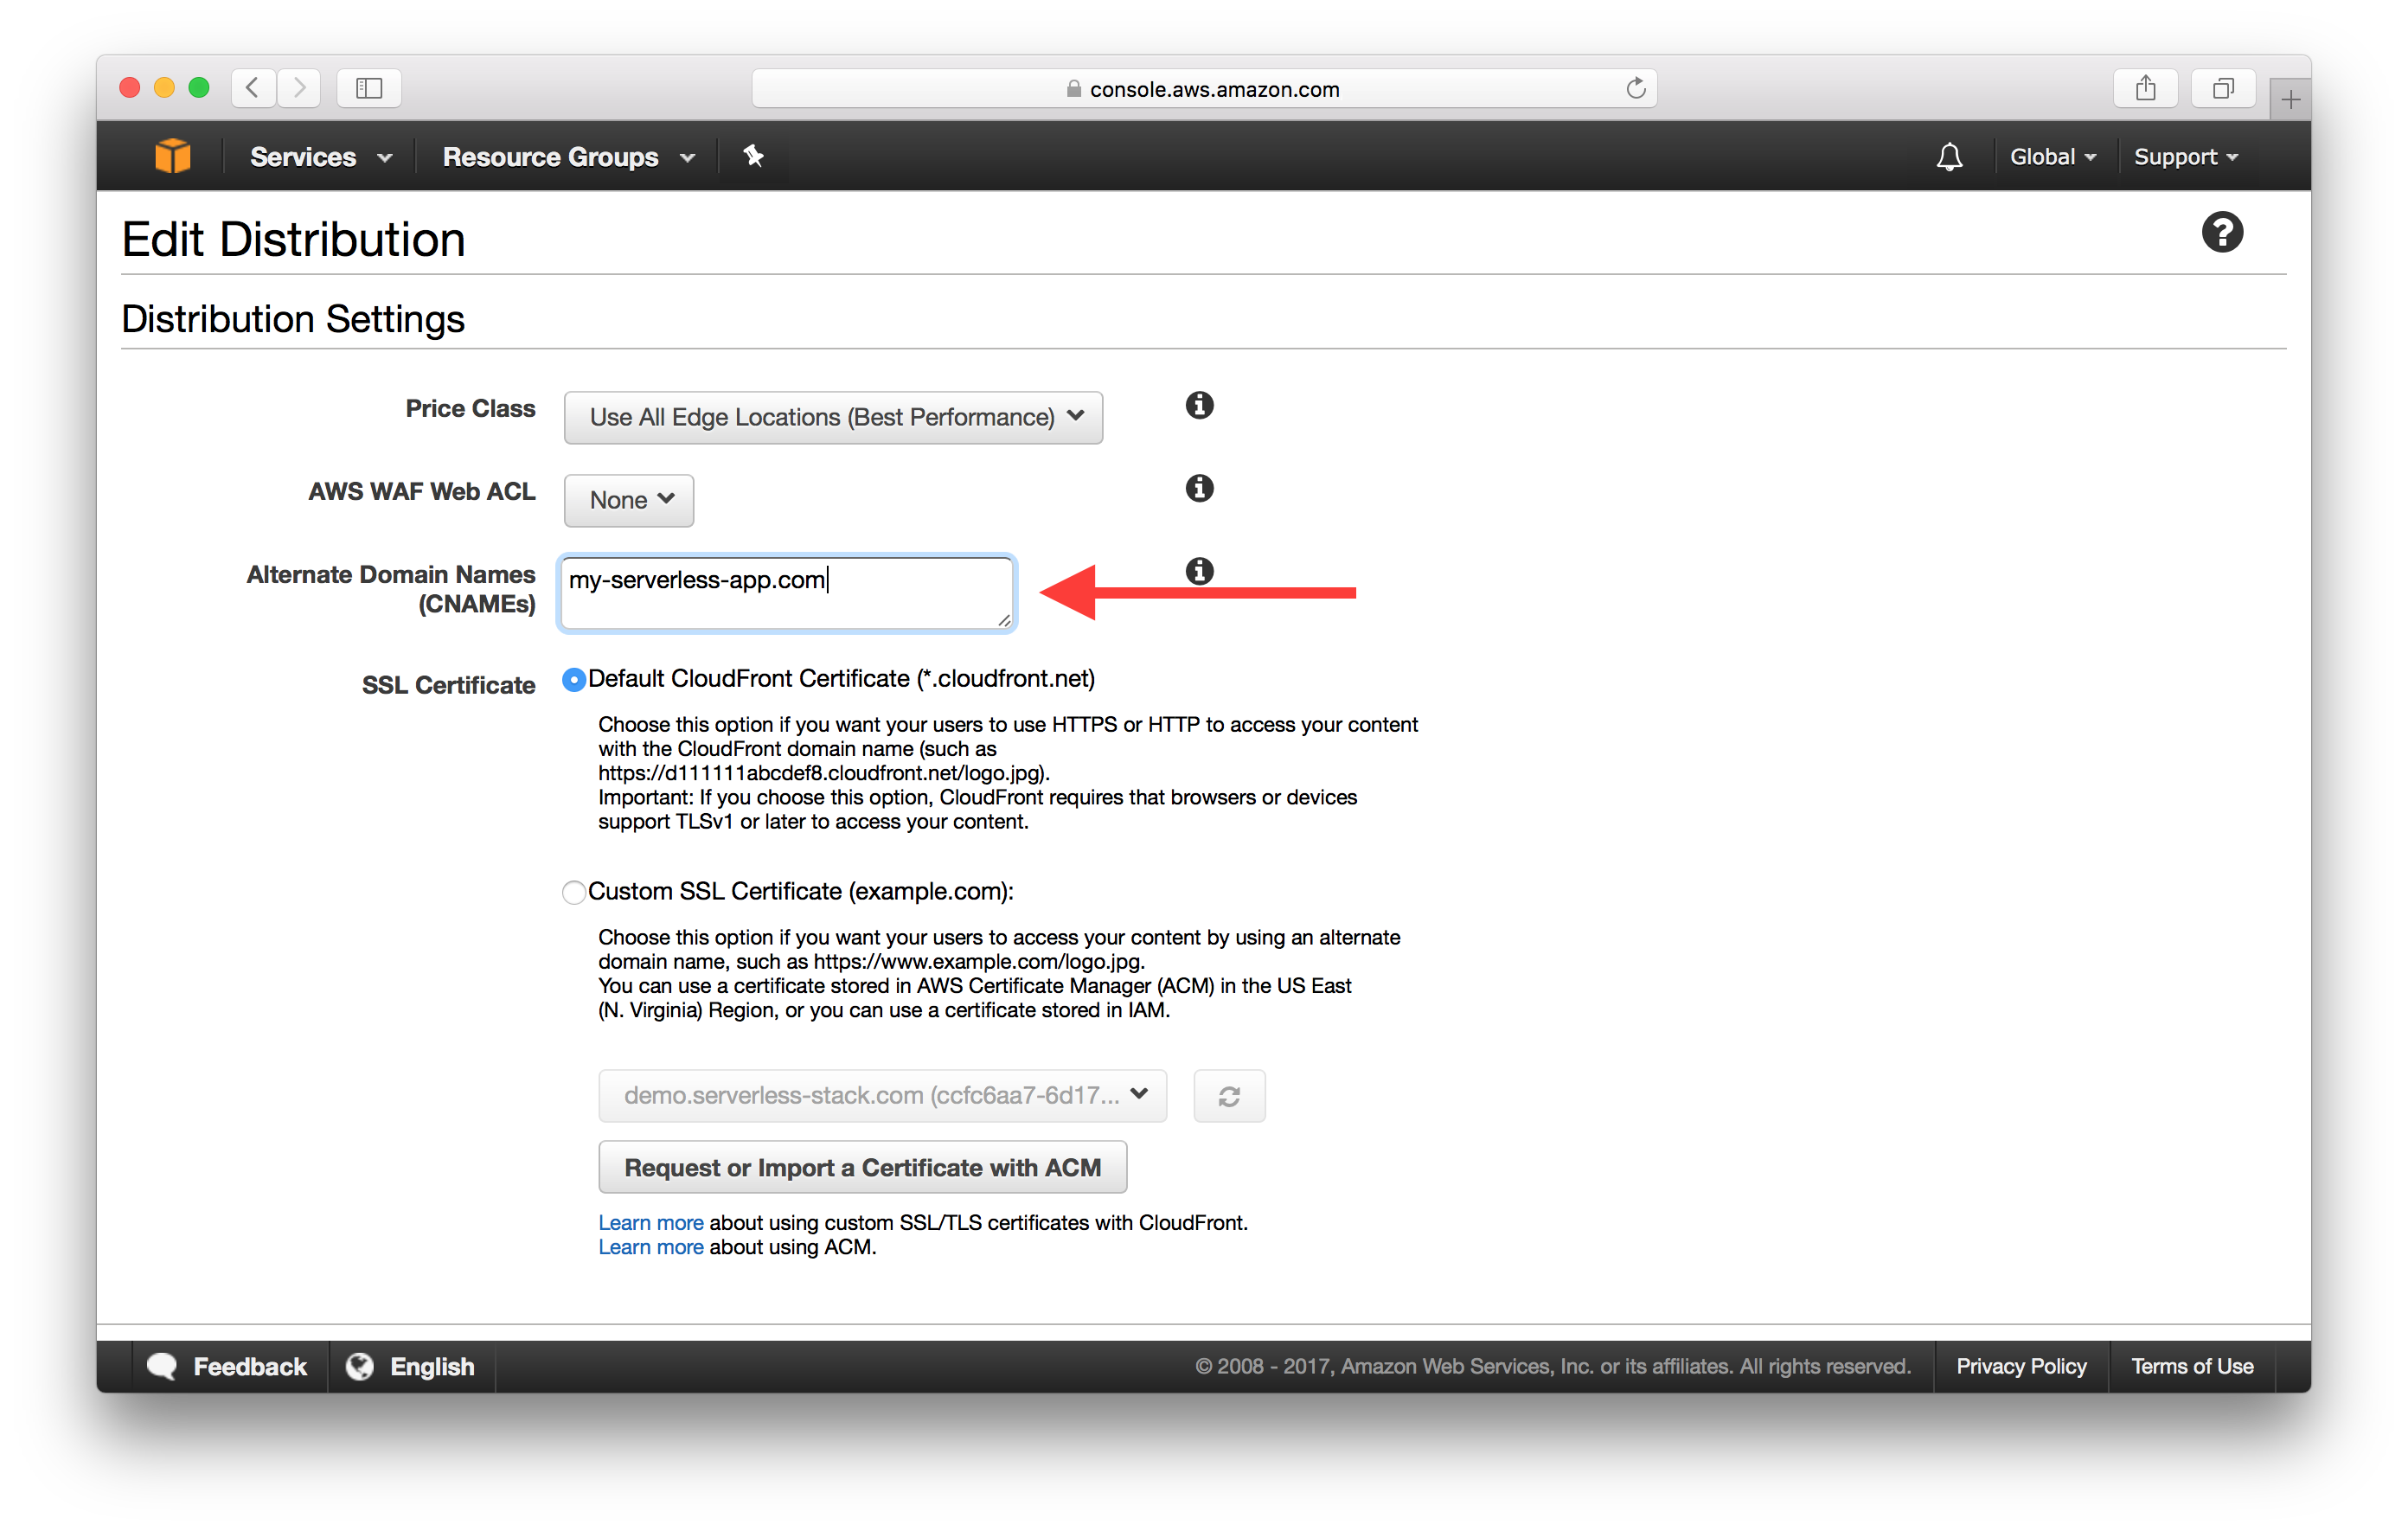
And type in your new domain name in the Alternate Domain Names (CNAMEs) field.
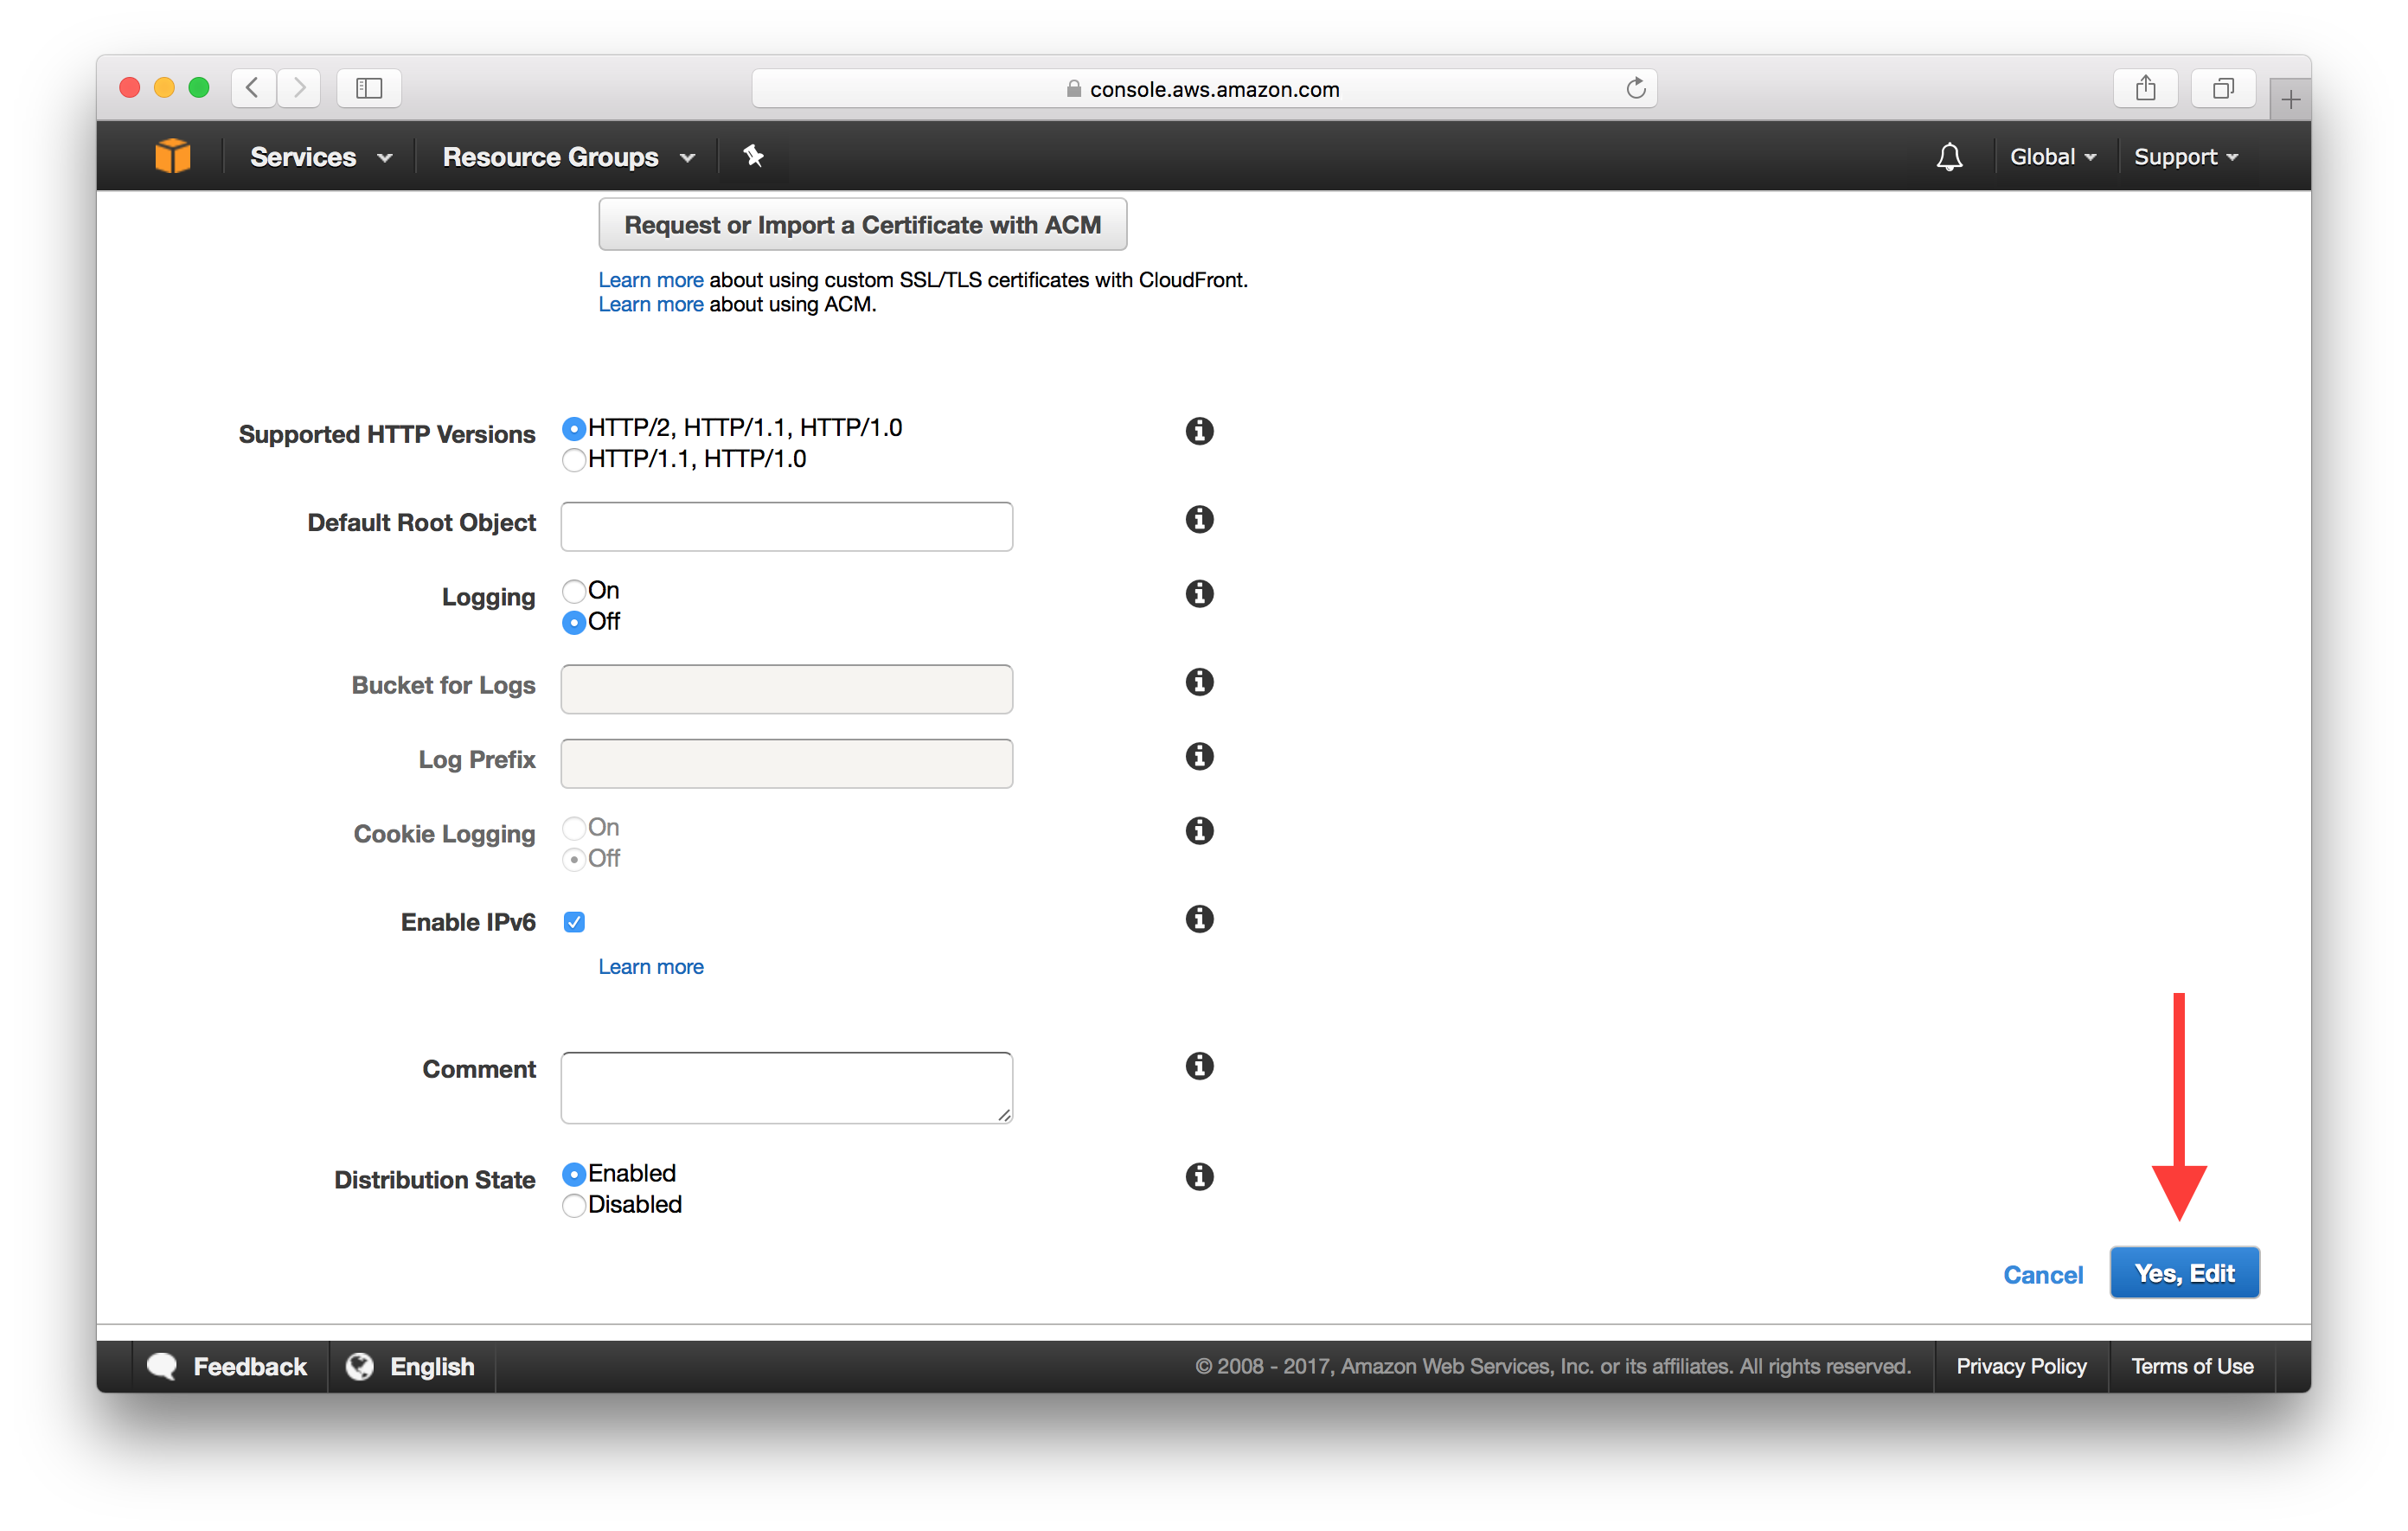
Scroll down and hit Yes, Edit to save the changes.
Next, let’s point our domain to the CloudFront Distribution.
Point Domain to CloudFront Distribution
Head back into Route 53 and hit the Hosted Zones button. If you don’t have an existing Hosted Zone, you’ll need to create one by adding the Domain Name and selecting Public Hosted Zone as the Type.
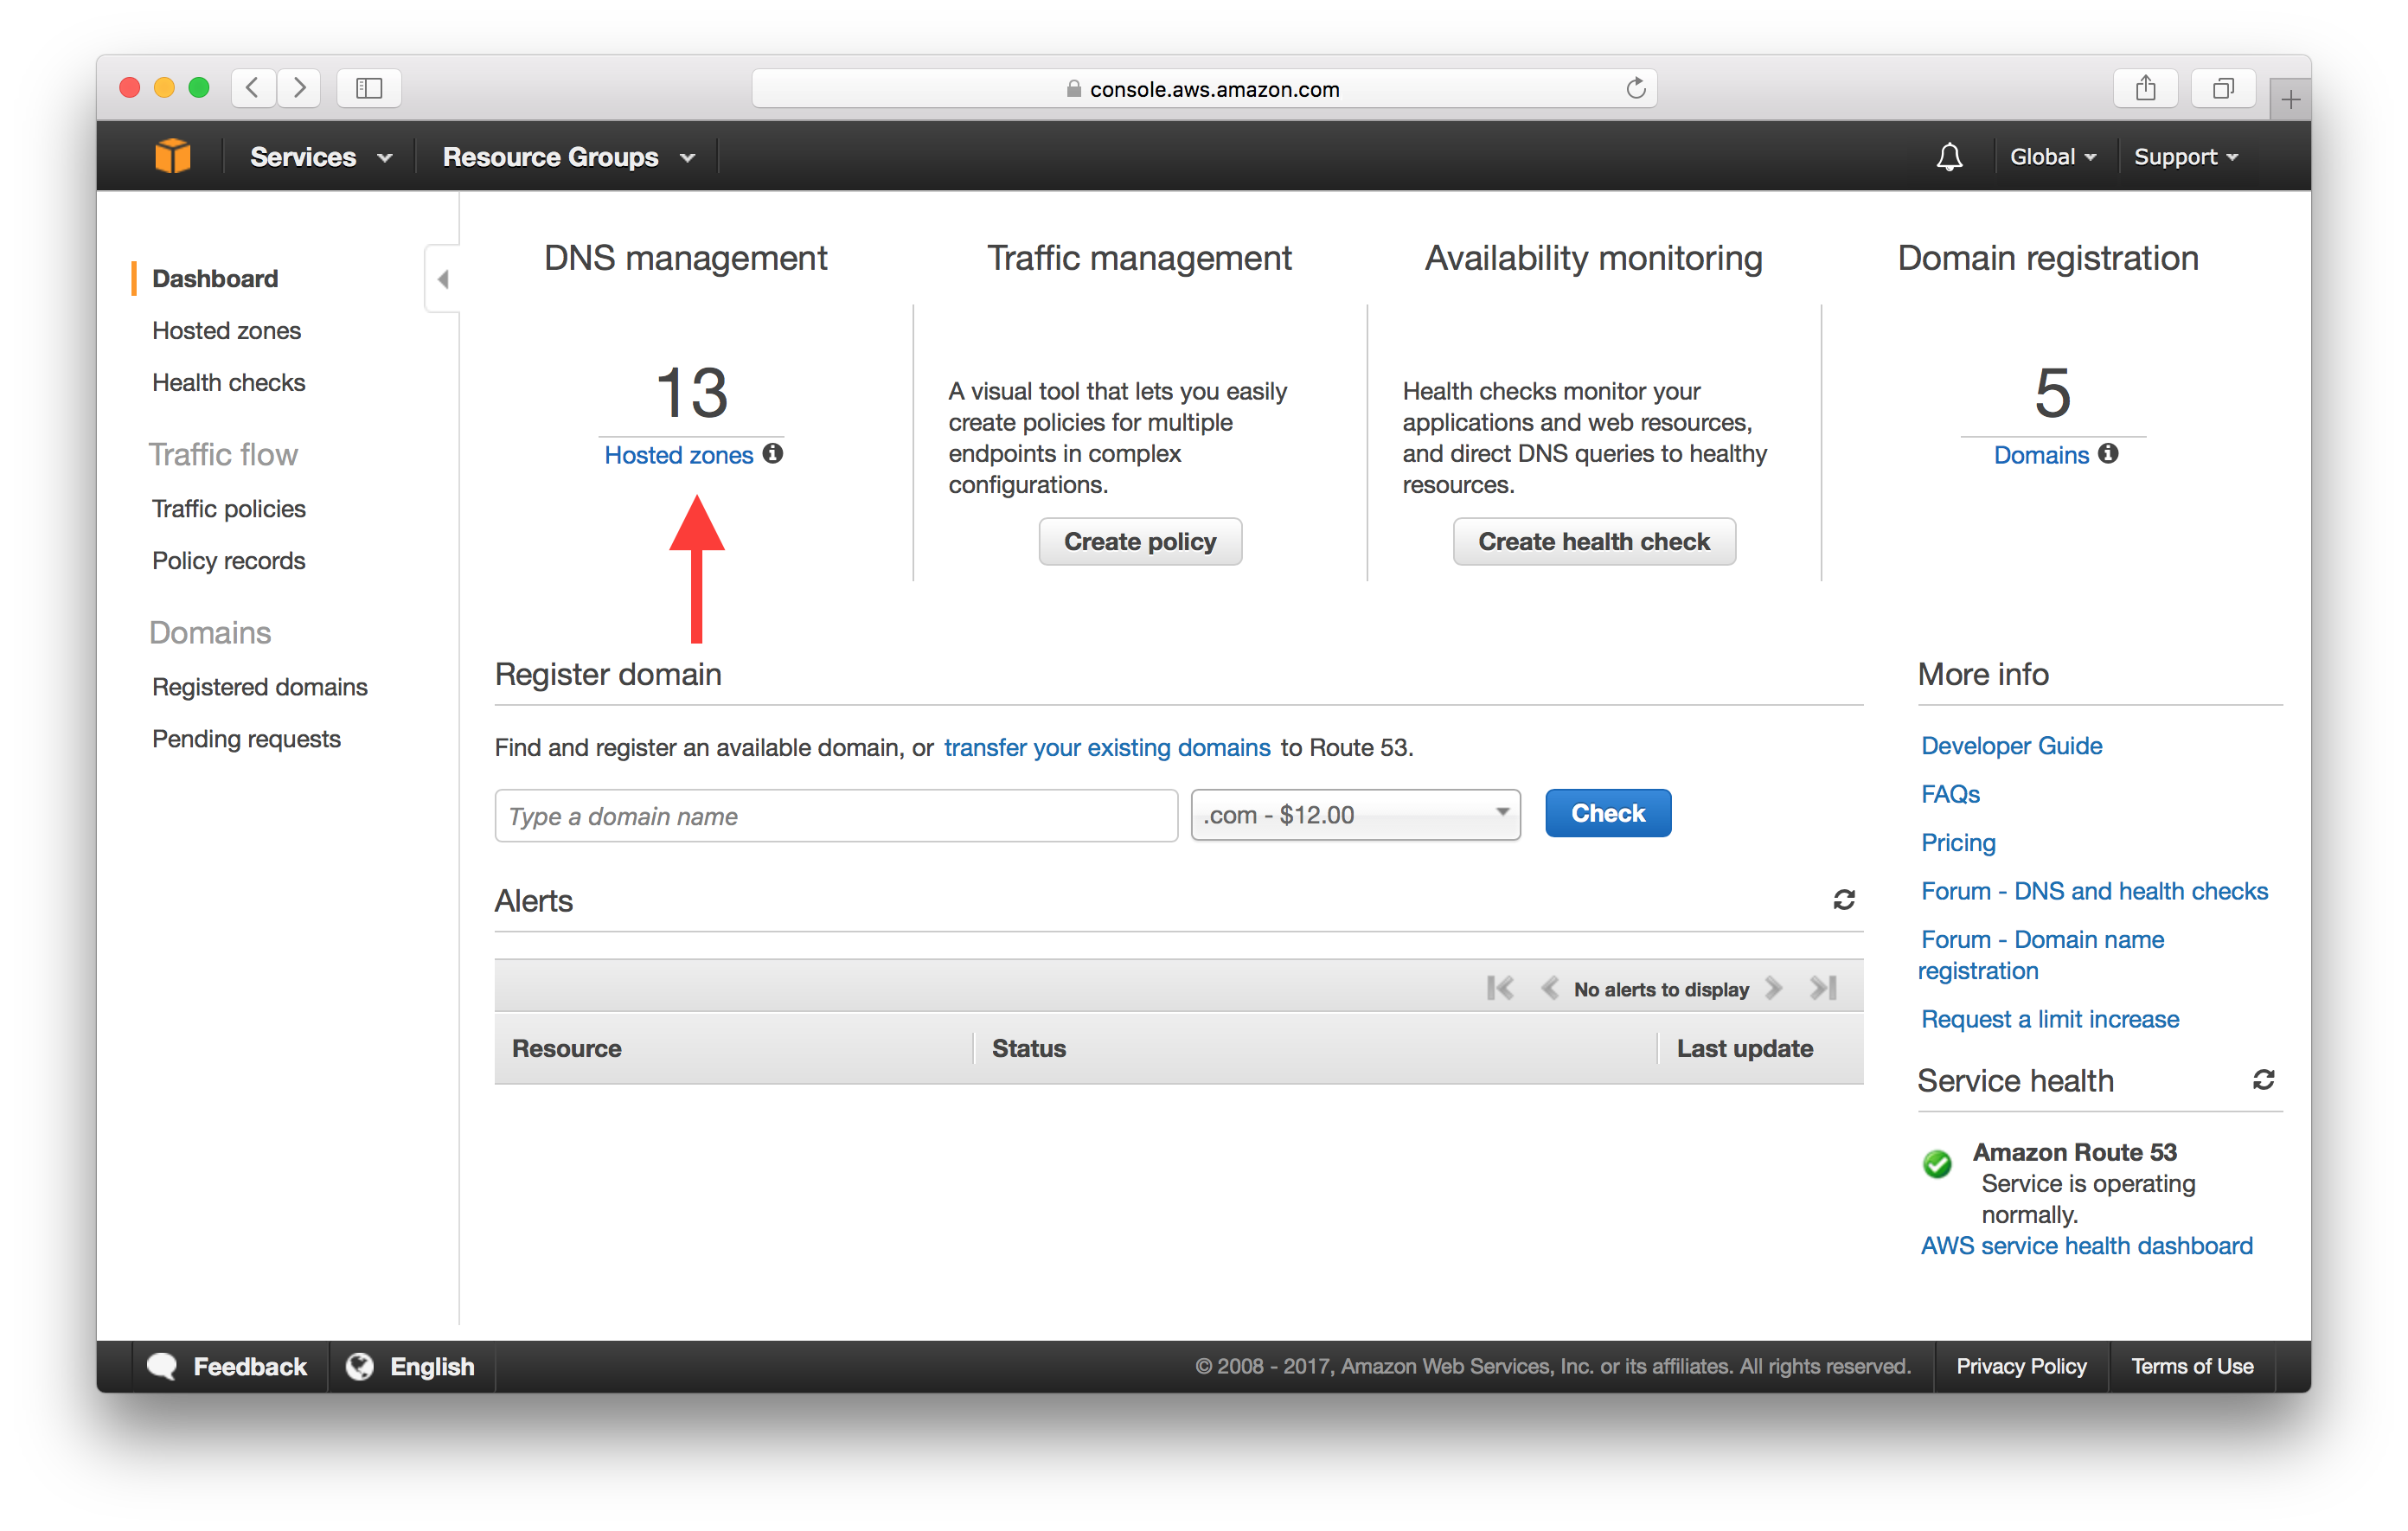
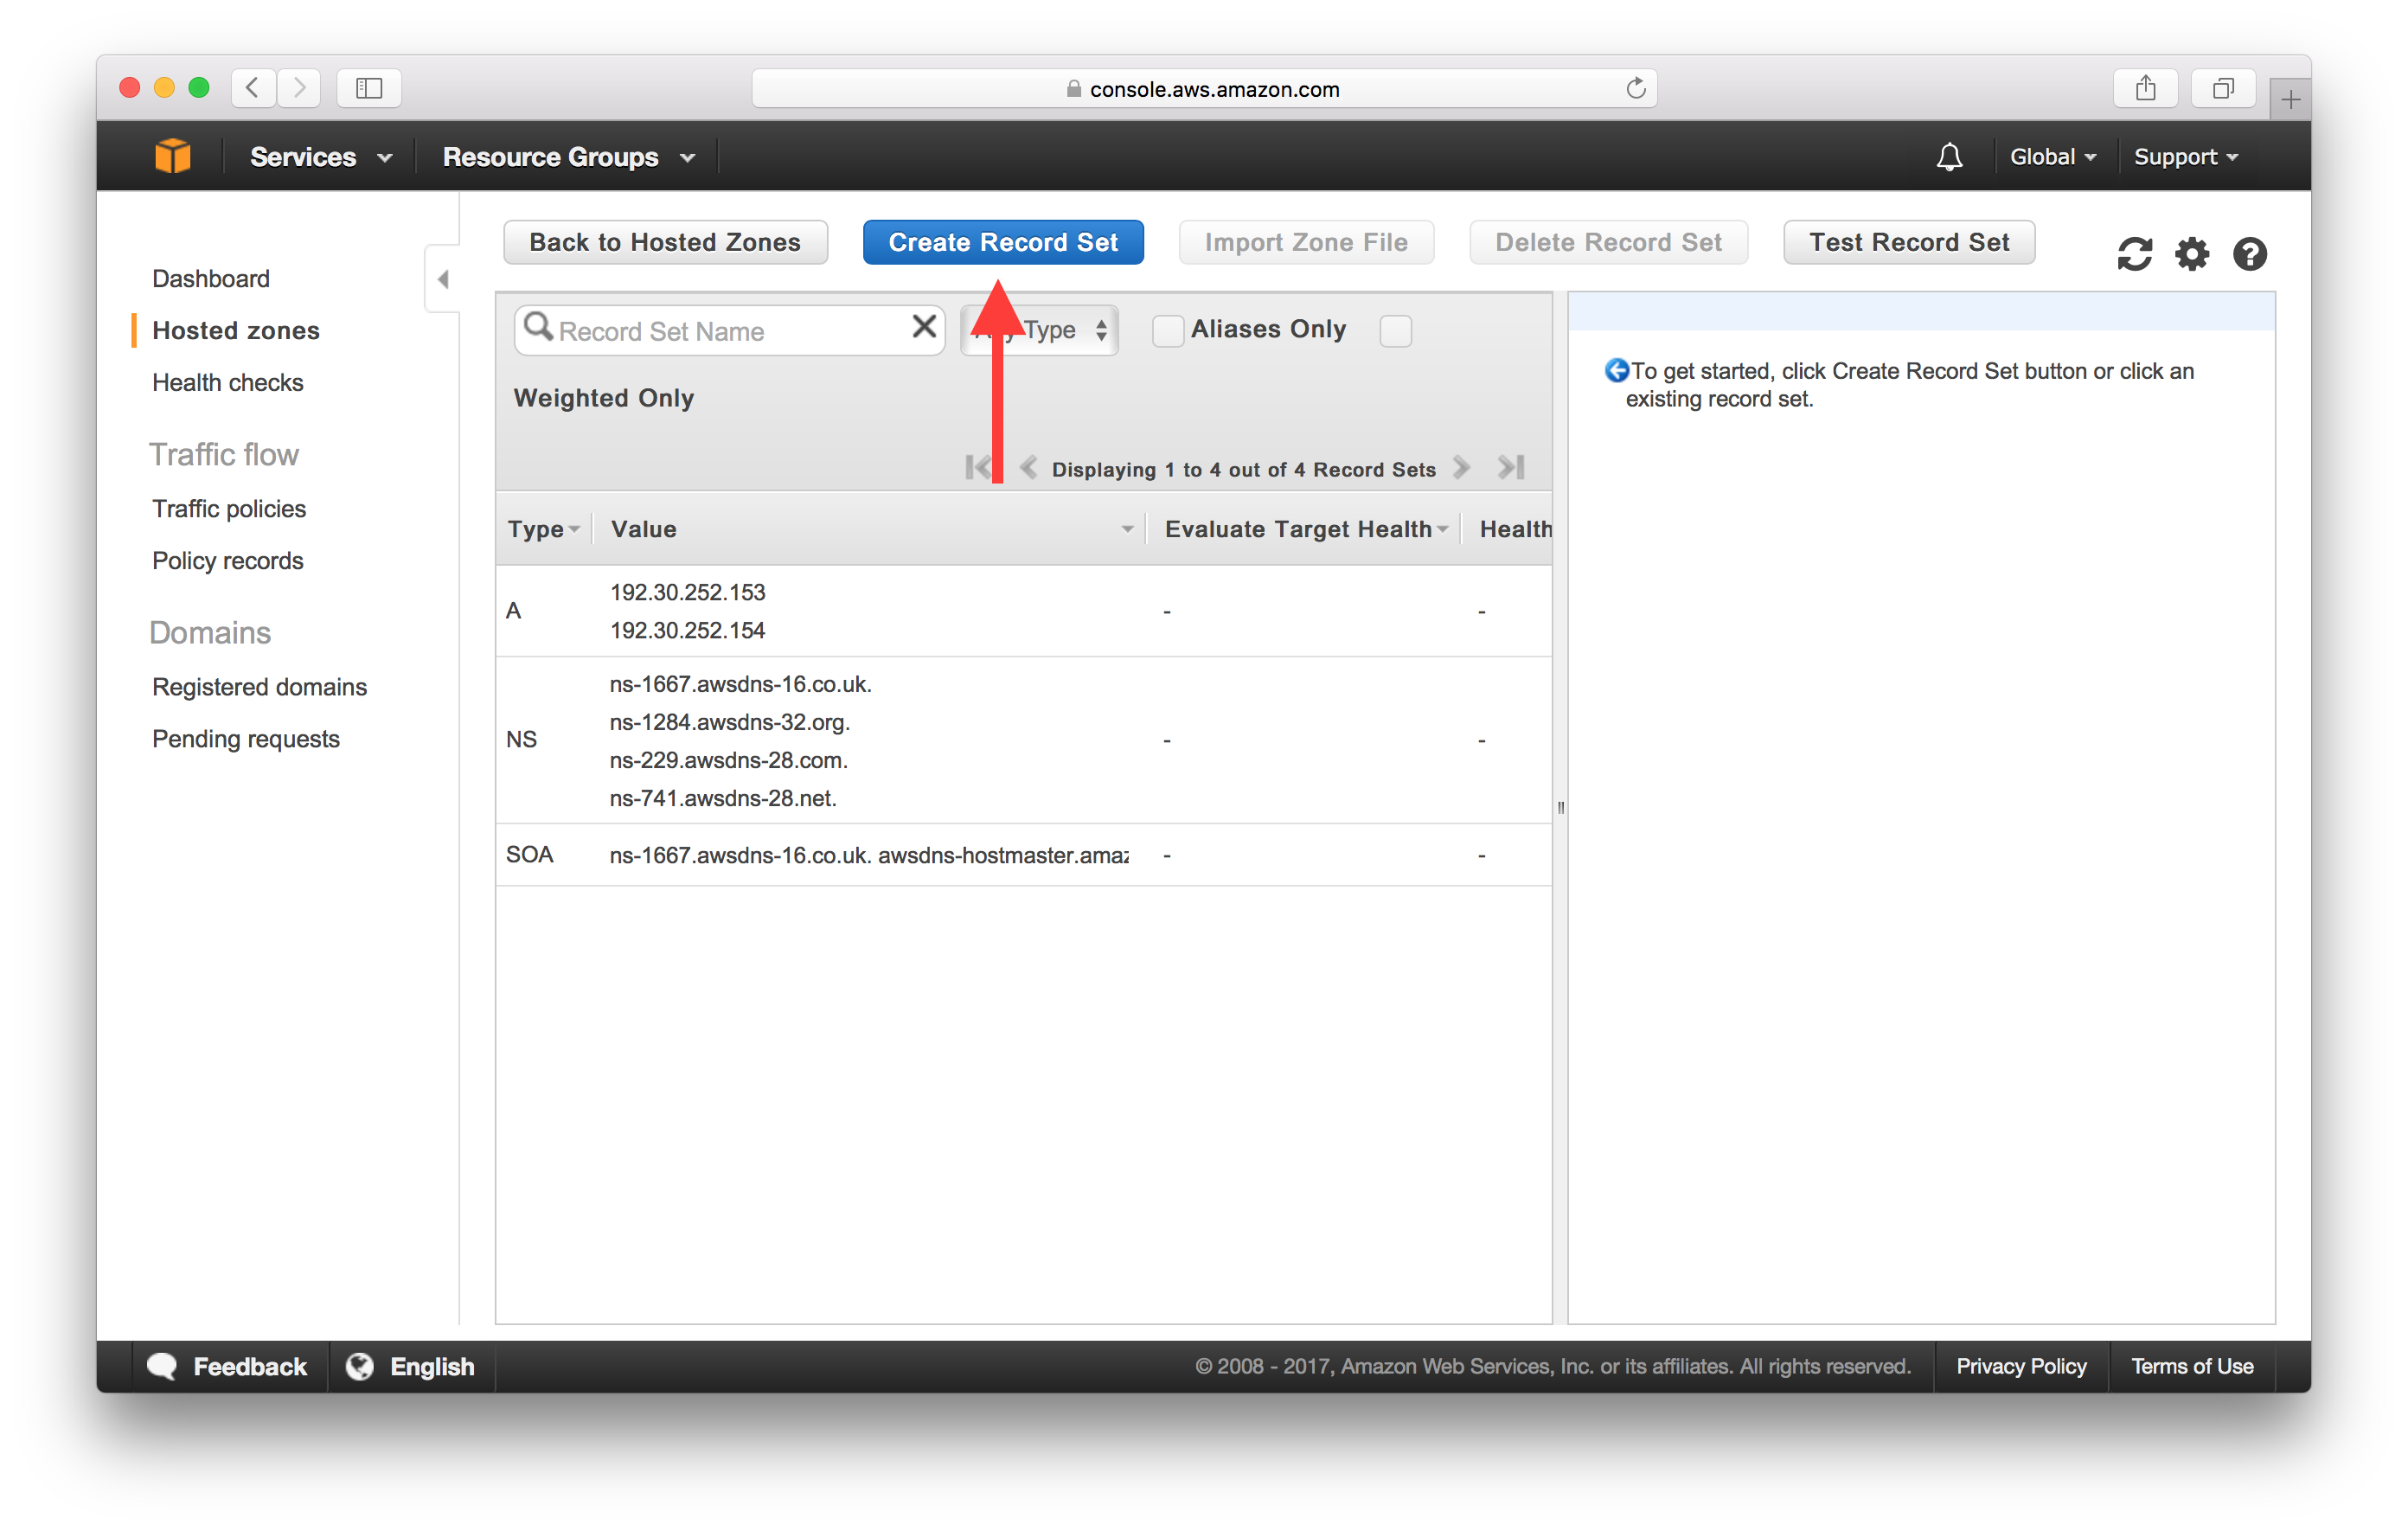
Select your domain from the list and hit Create Record Set in the details screen.
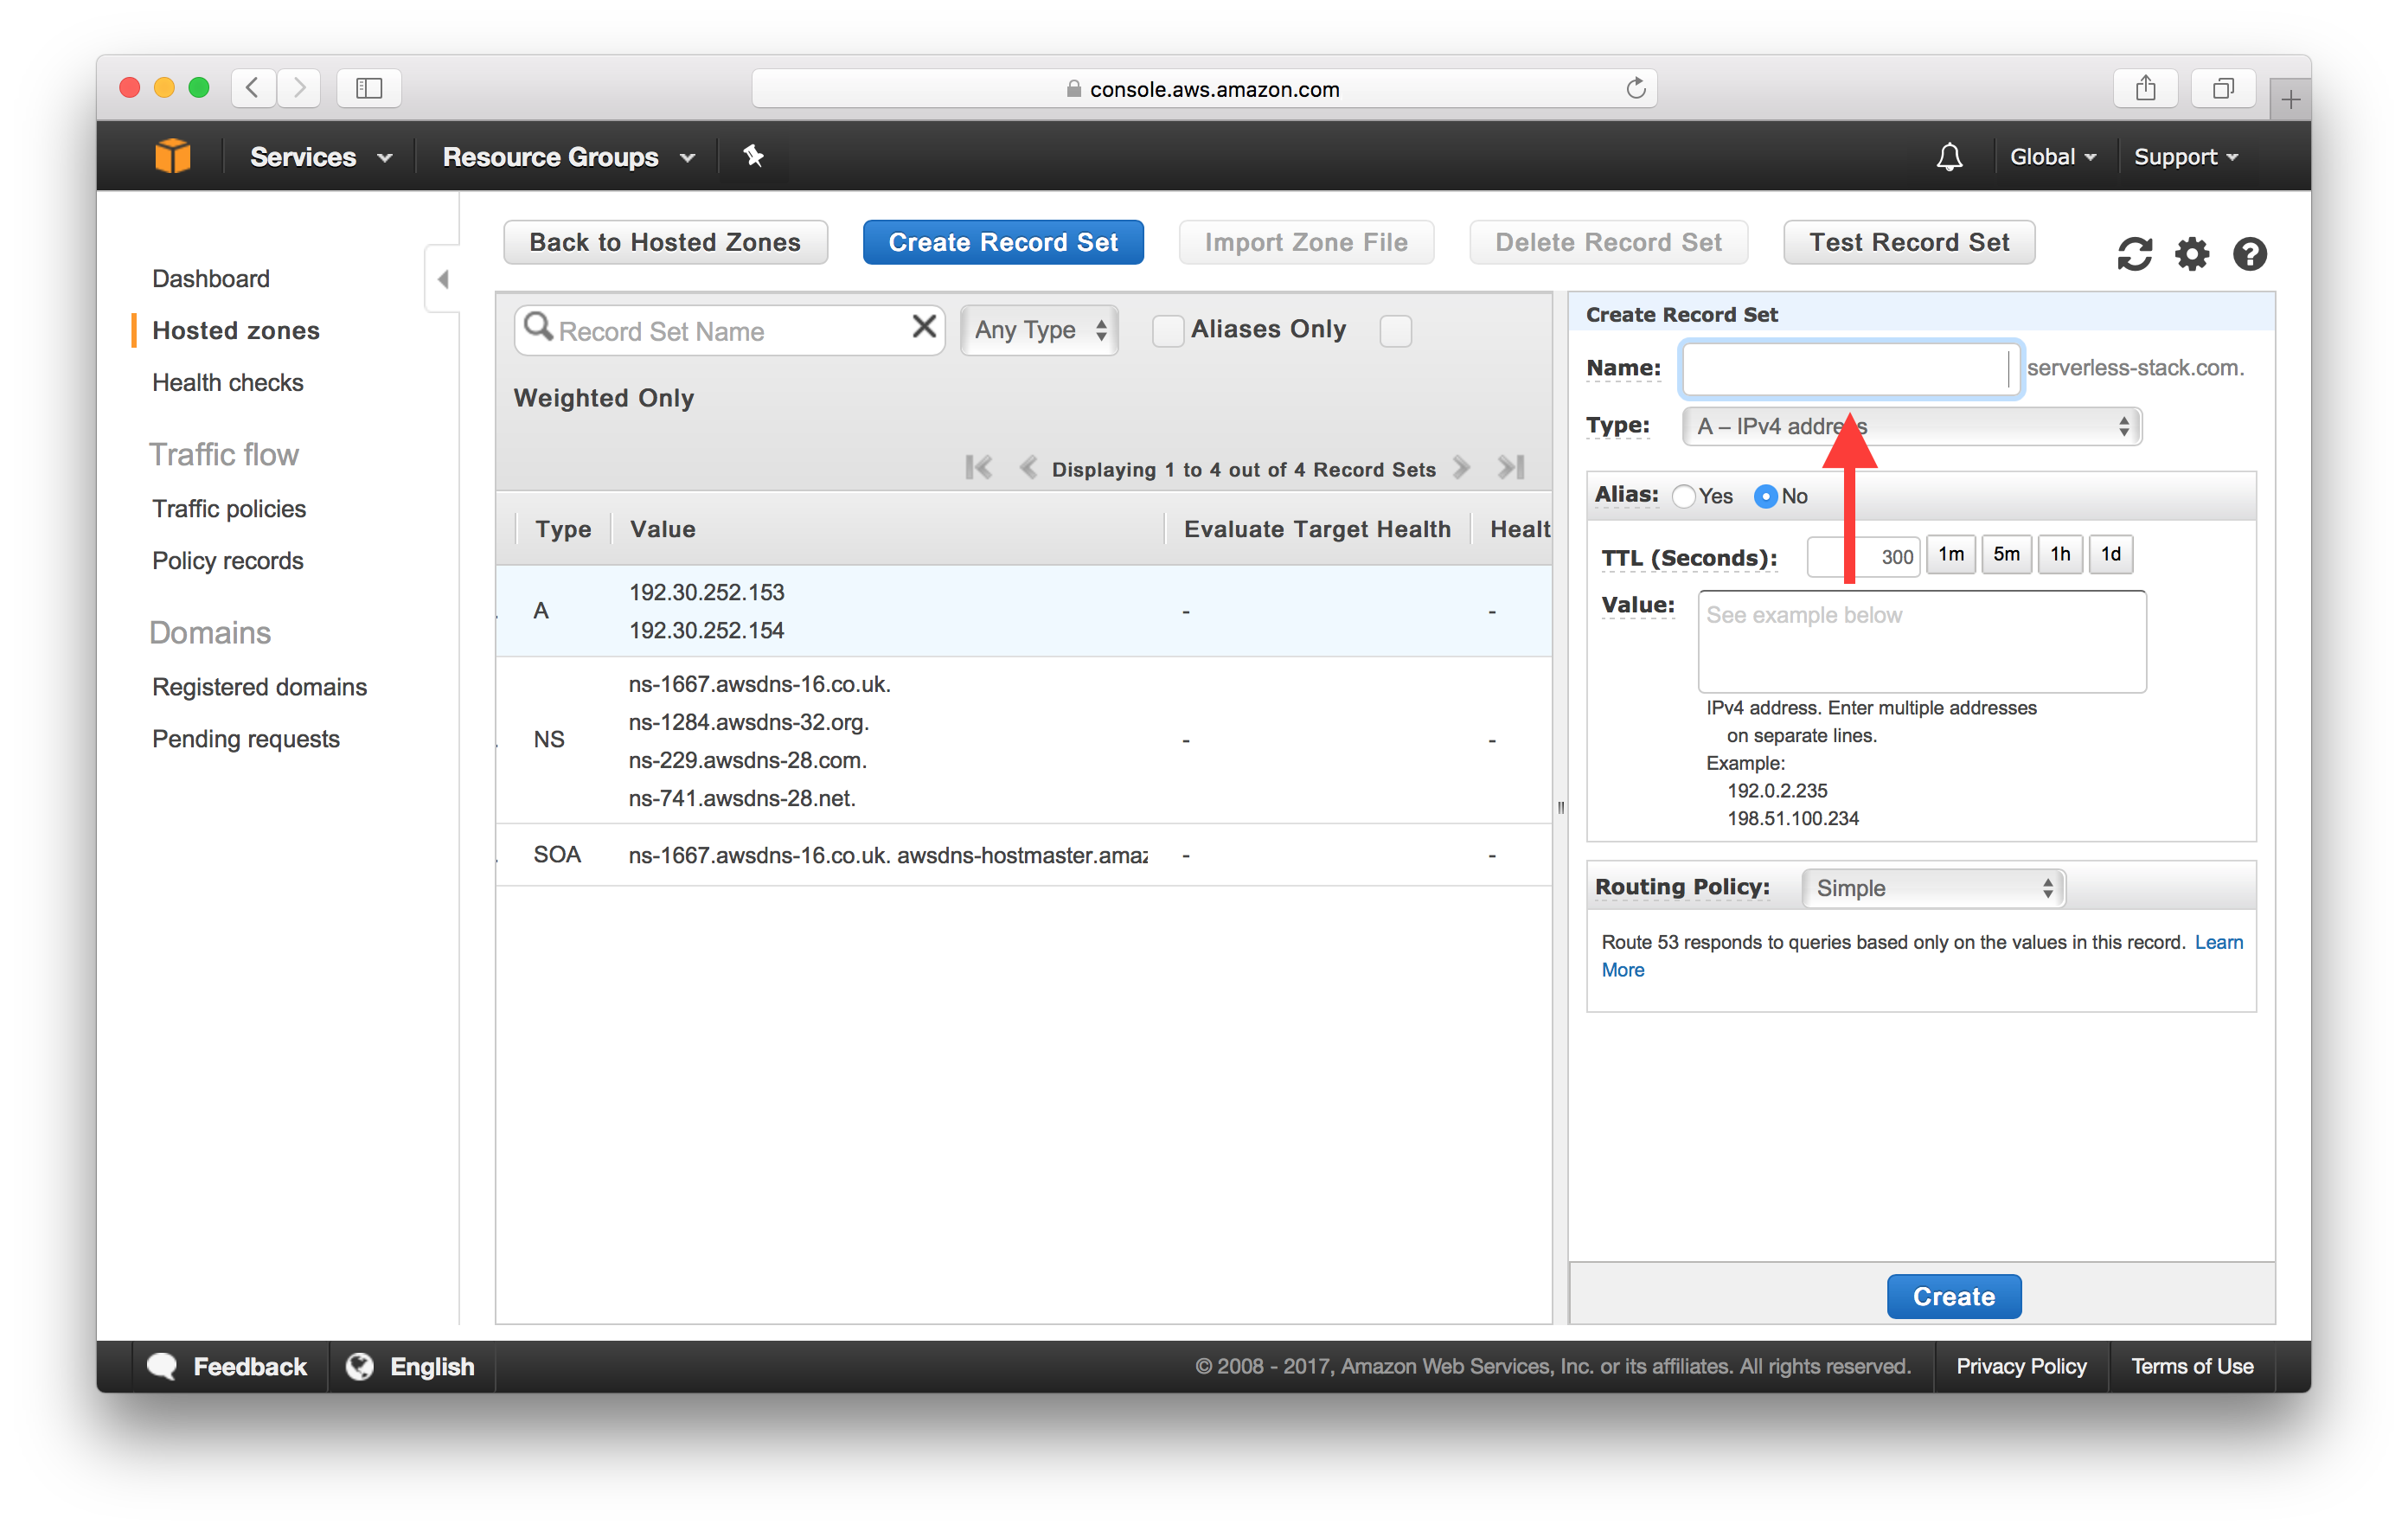
Leave the Name field empty since we are going to point our bare domain (without the www.) to our CloudFront Distribution.
And select Alias as Yes since we are going to simply point this to our CloudFront domain.
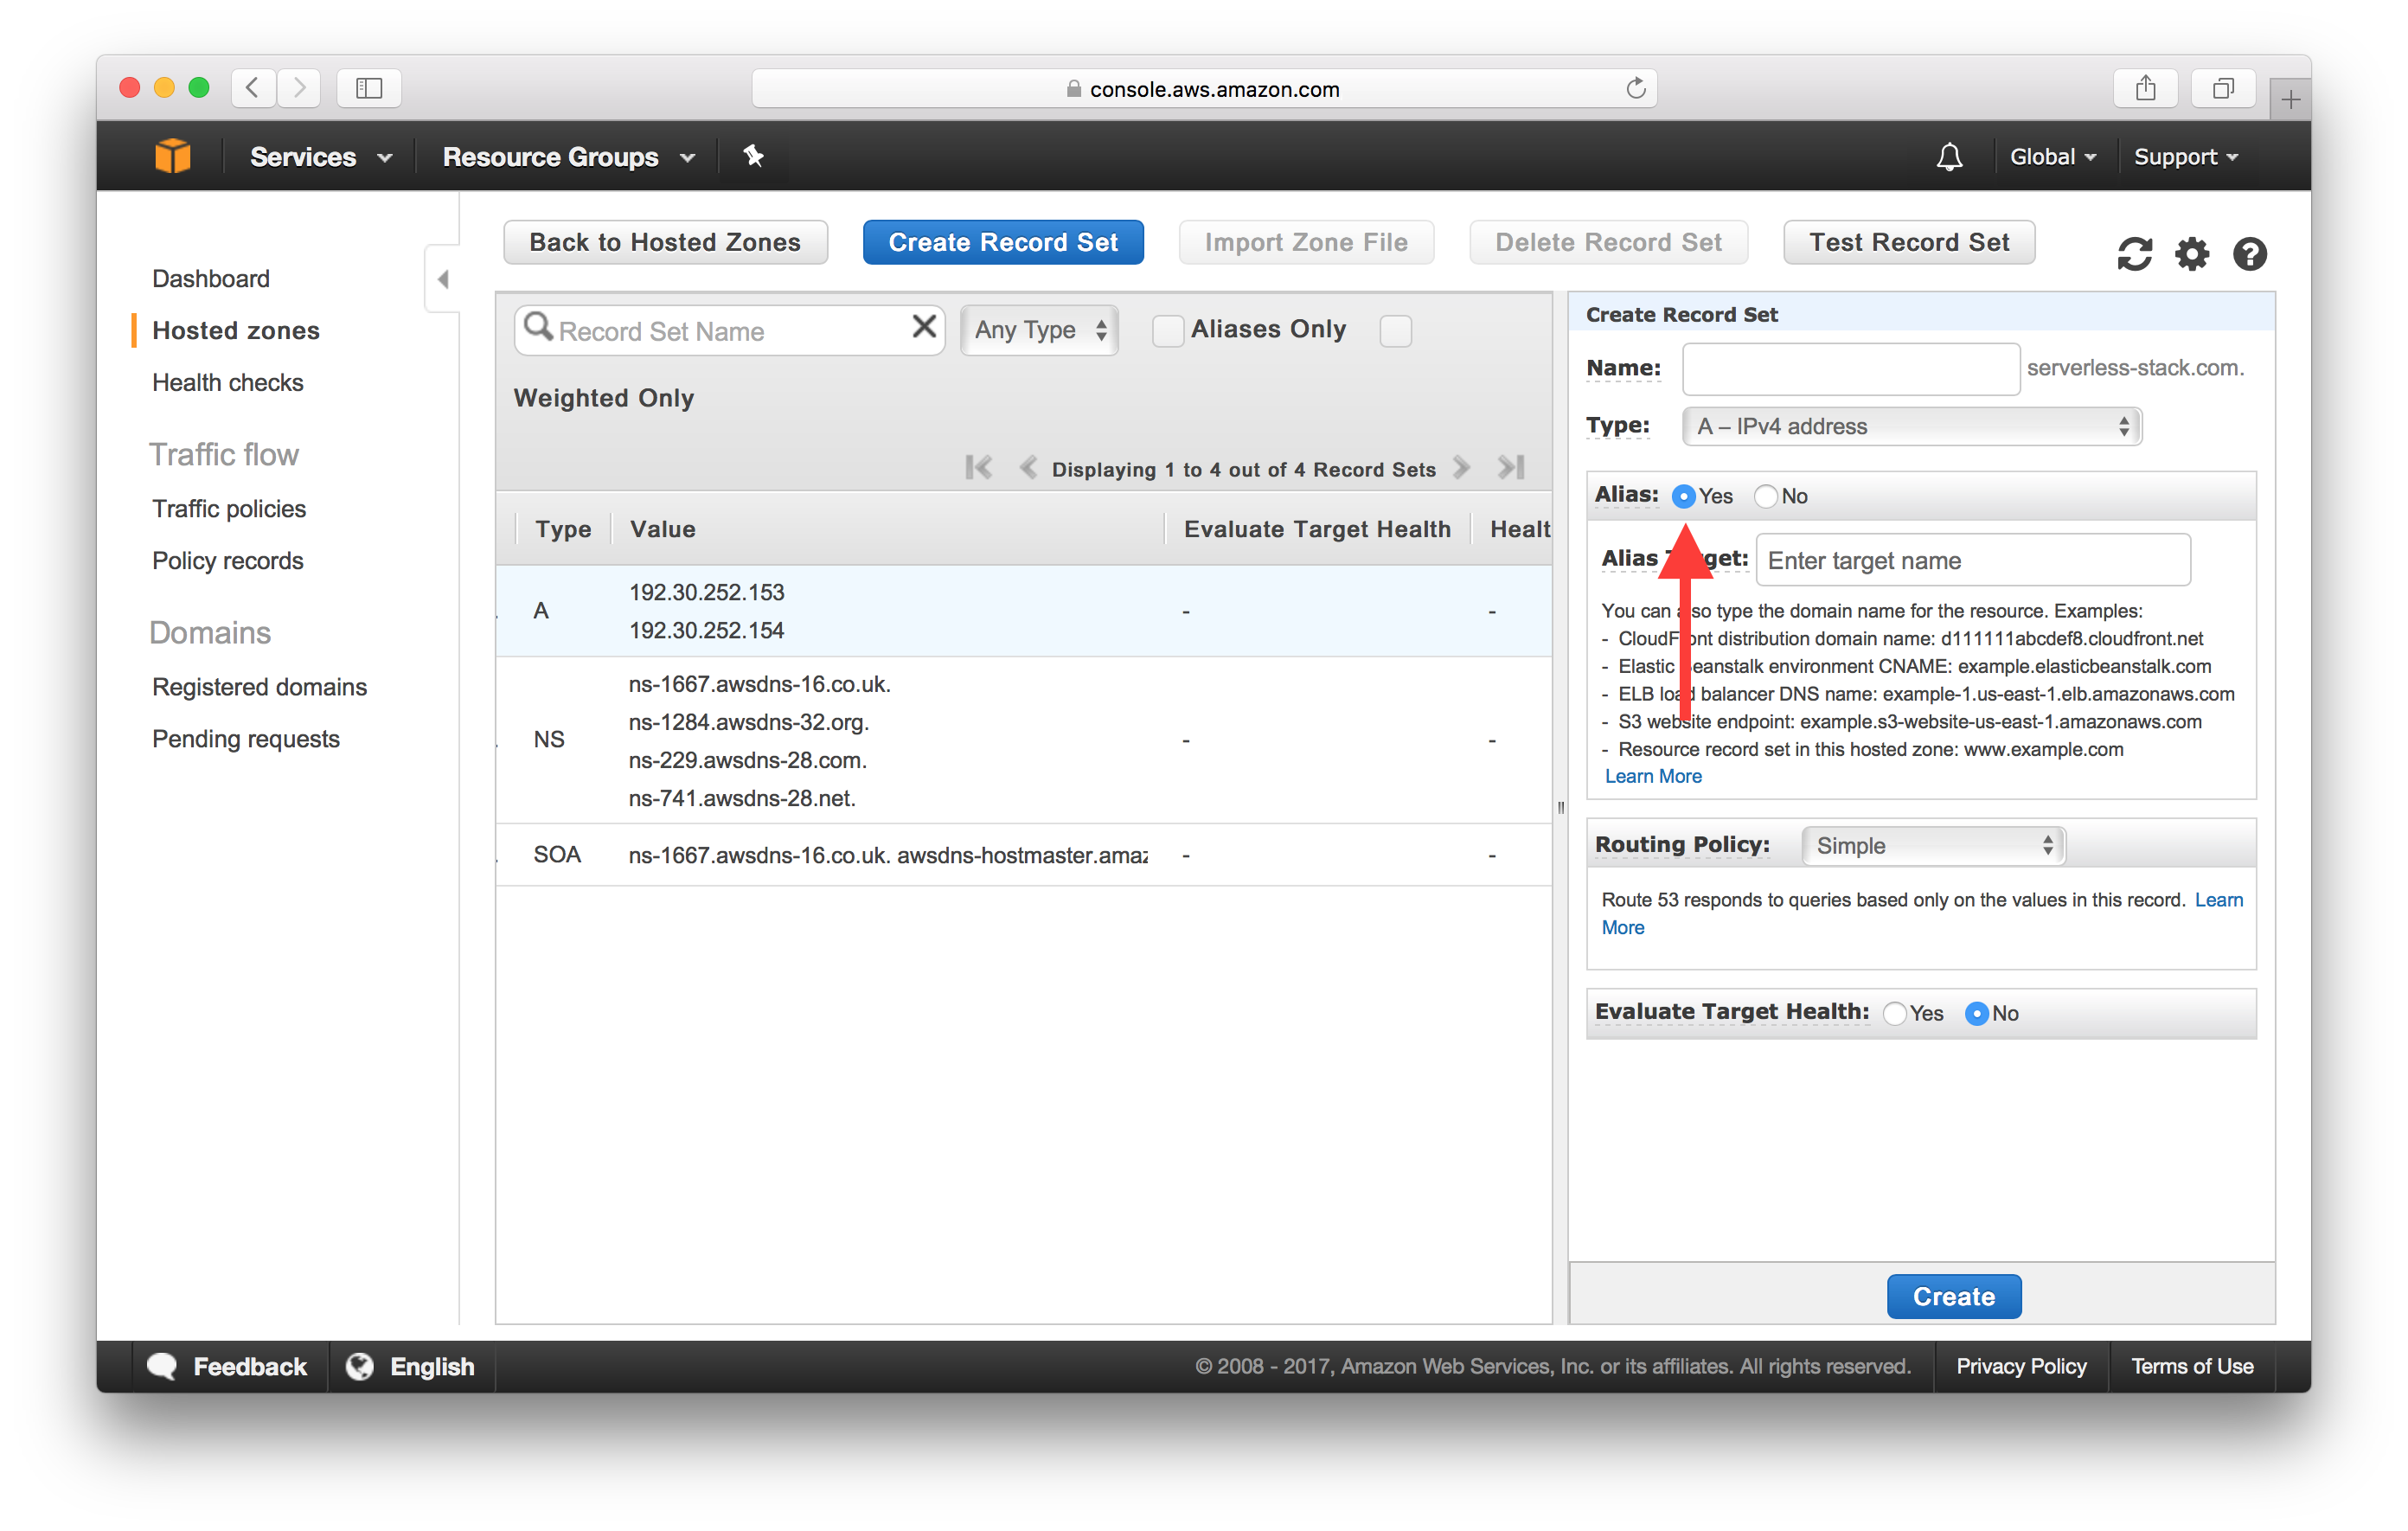
In the Alias Target dropdown, select your CloudFront Distribution.
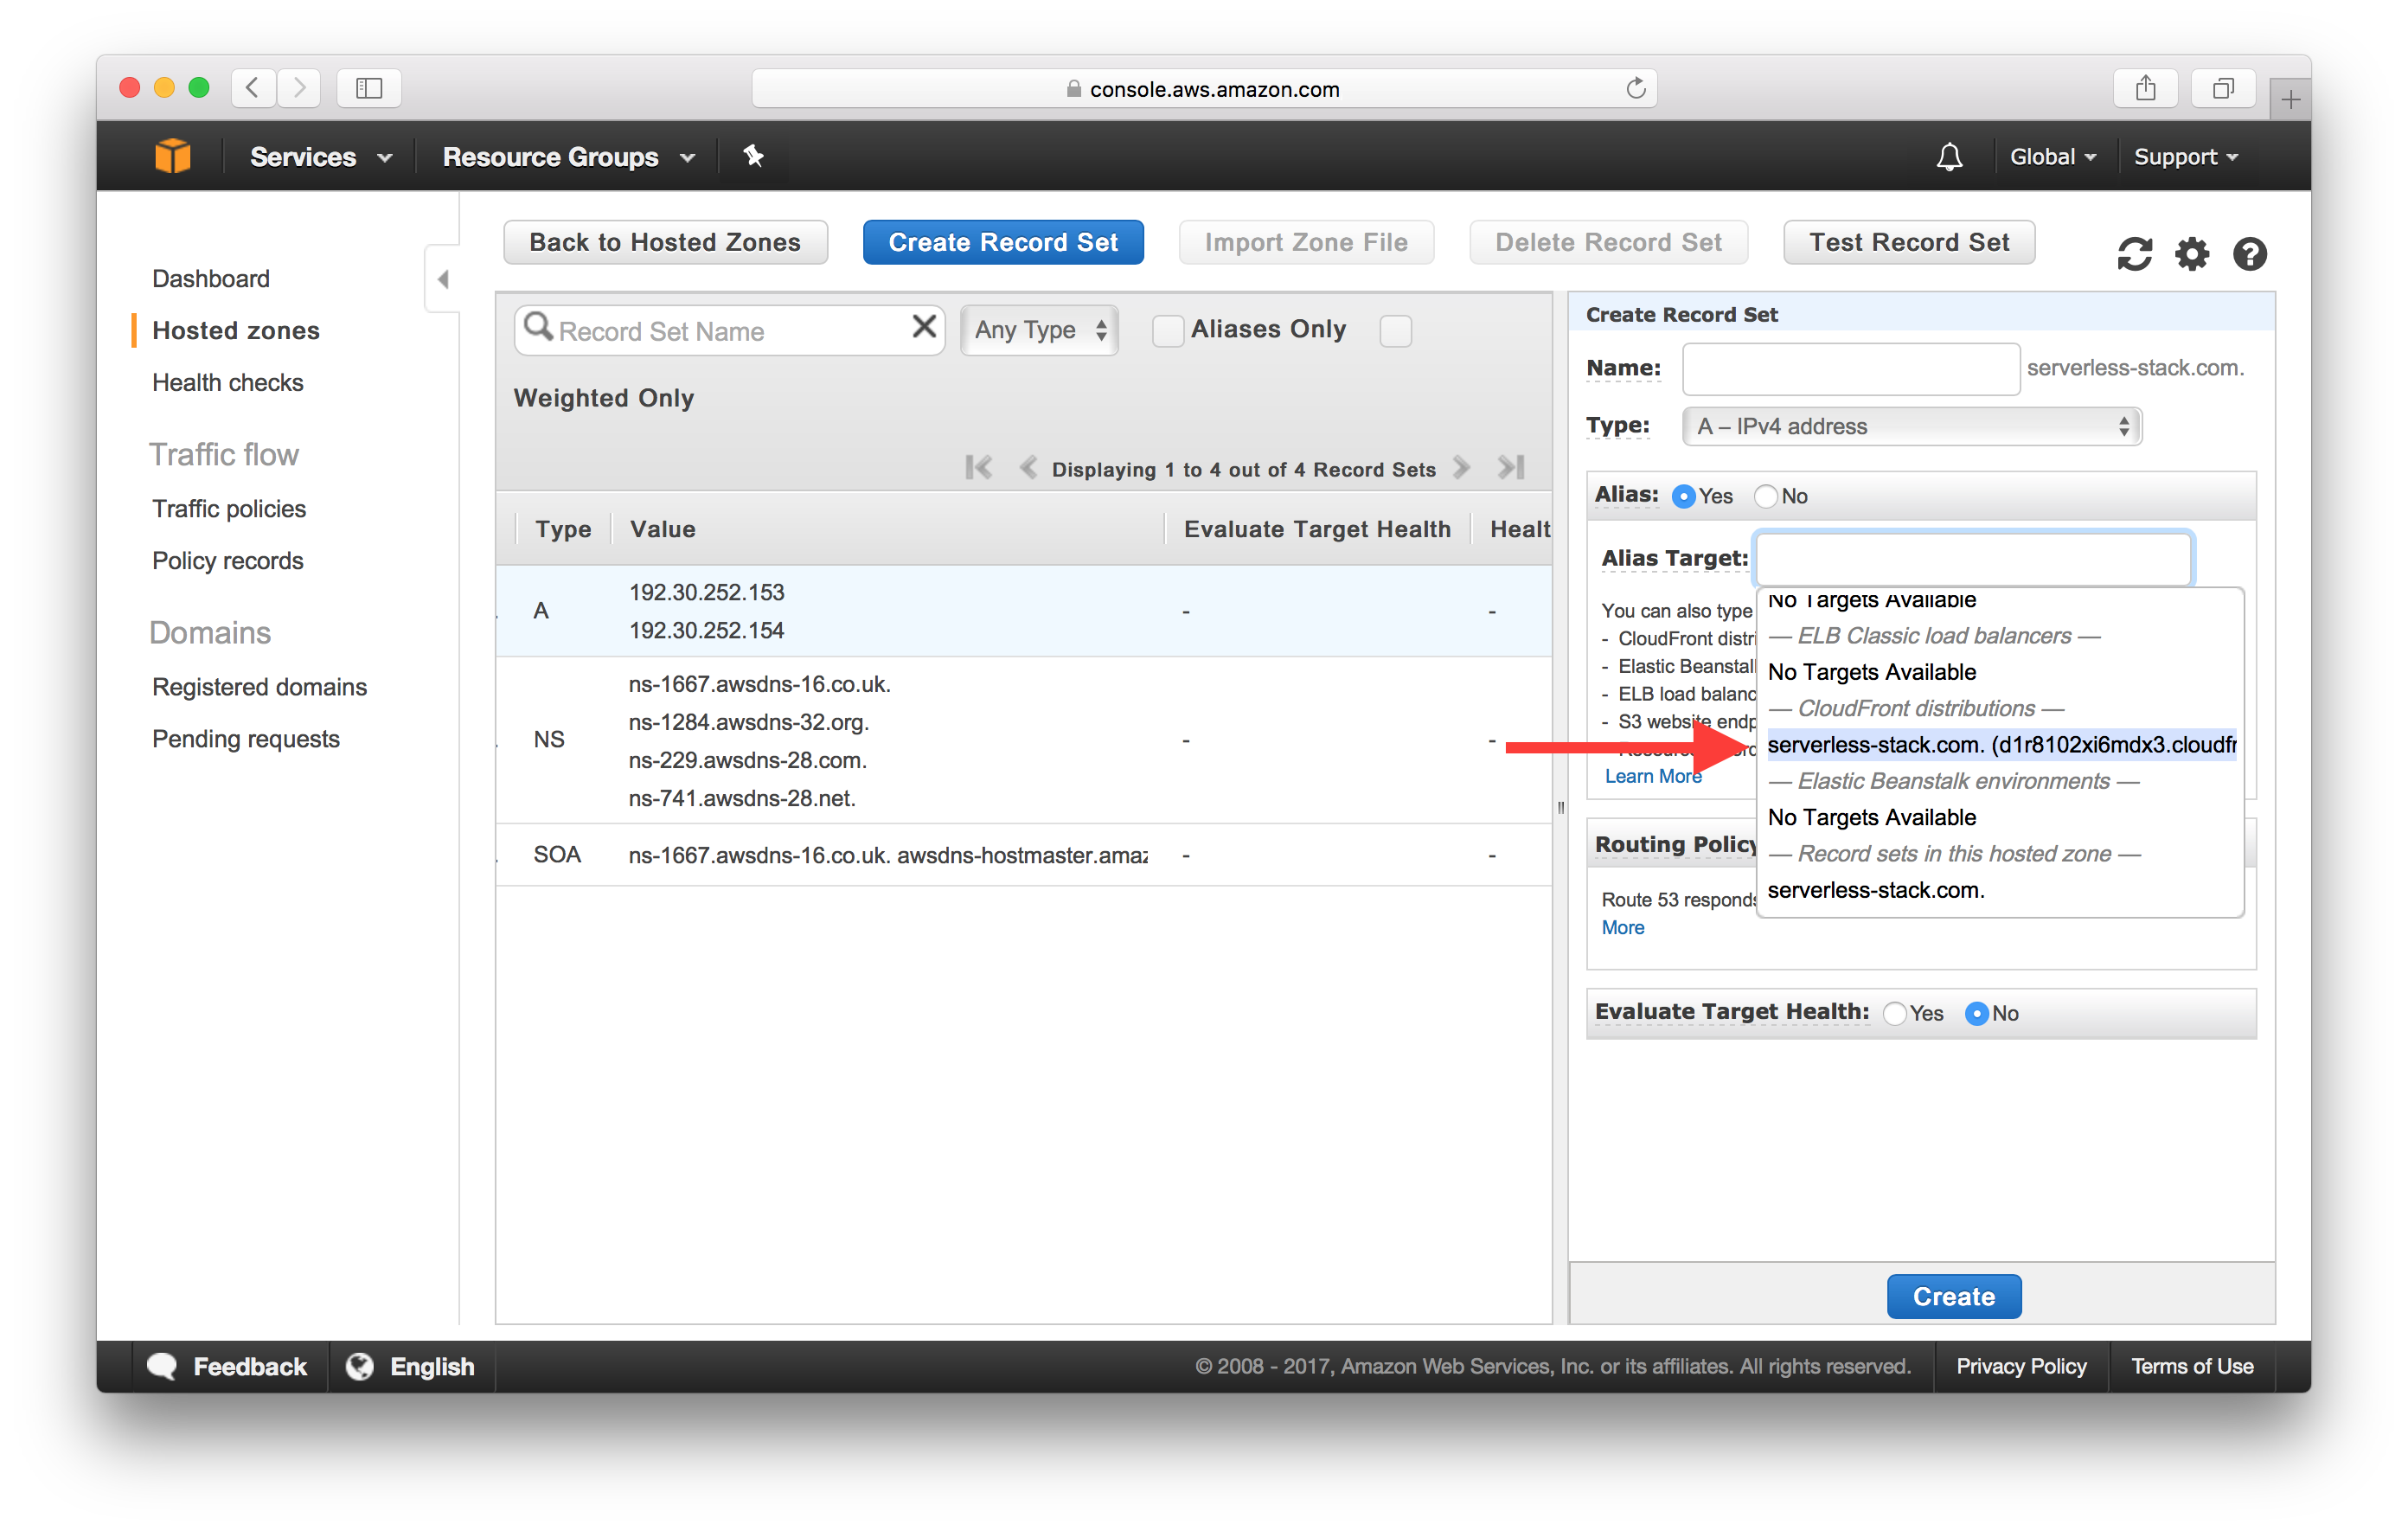
Finally, hit Create to add your new record set.

Add IPv6 Support
CloudFront Distributions have IPv6 enabled by default and this means that we need to create an AAAA record as well. It is set up exactly the same way as the Alias record.
Create a new Record Set with the exact settings as before, except make sure to pick AAAA - IPv6 address as the Type.
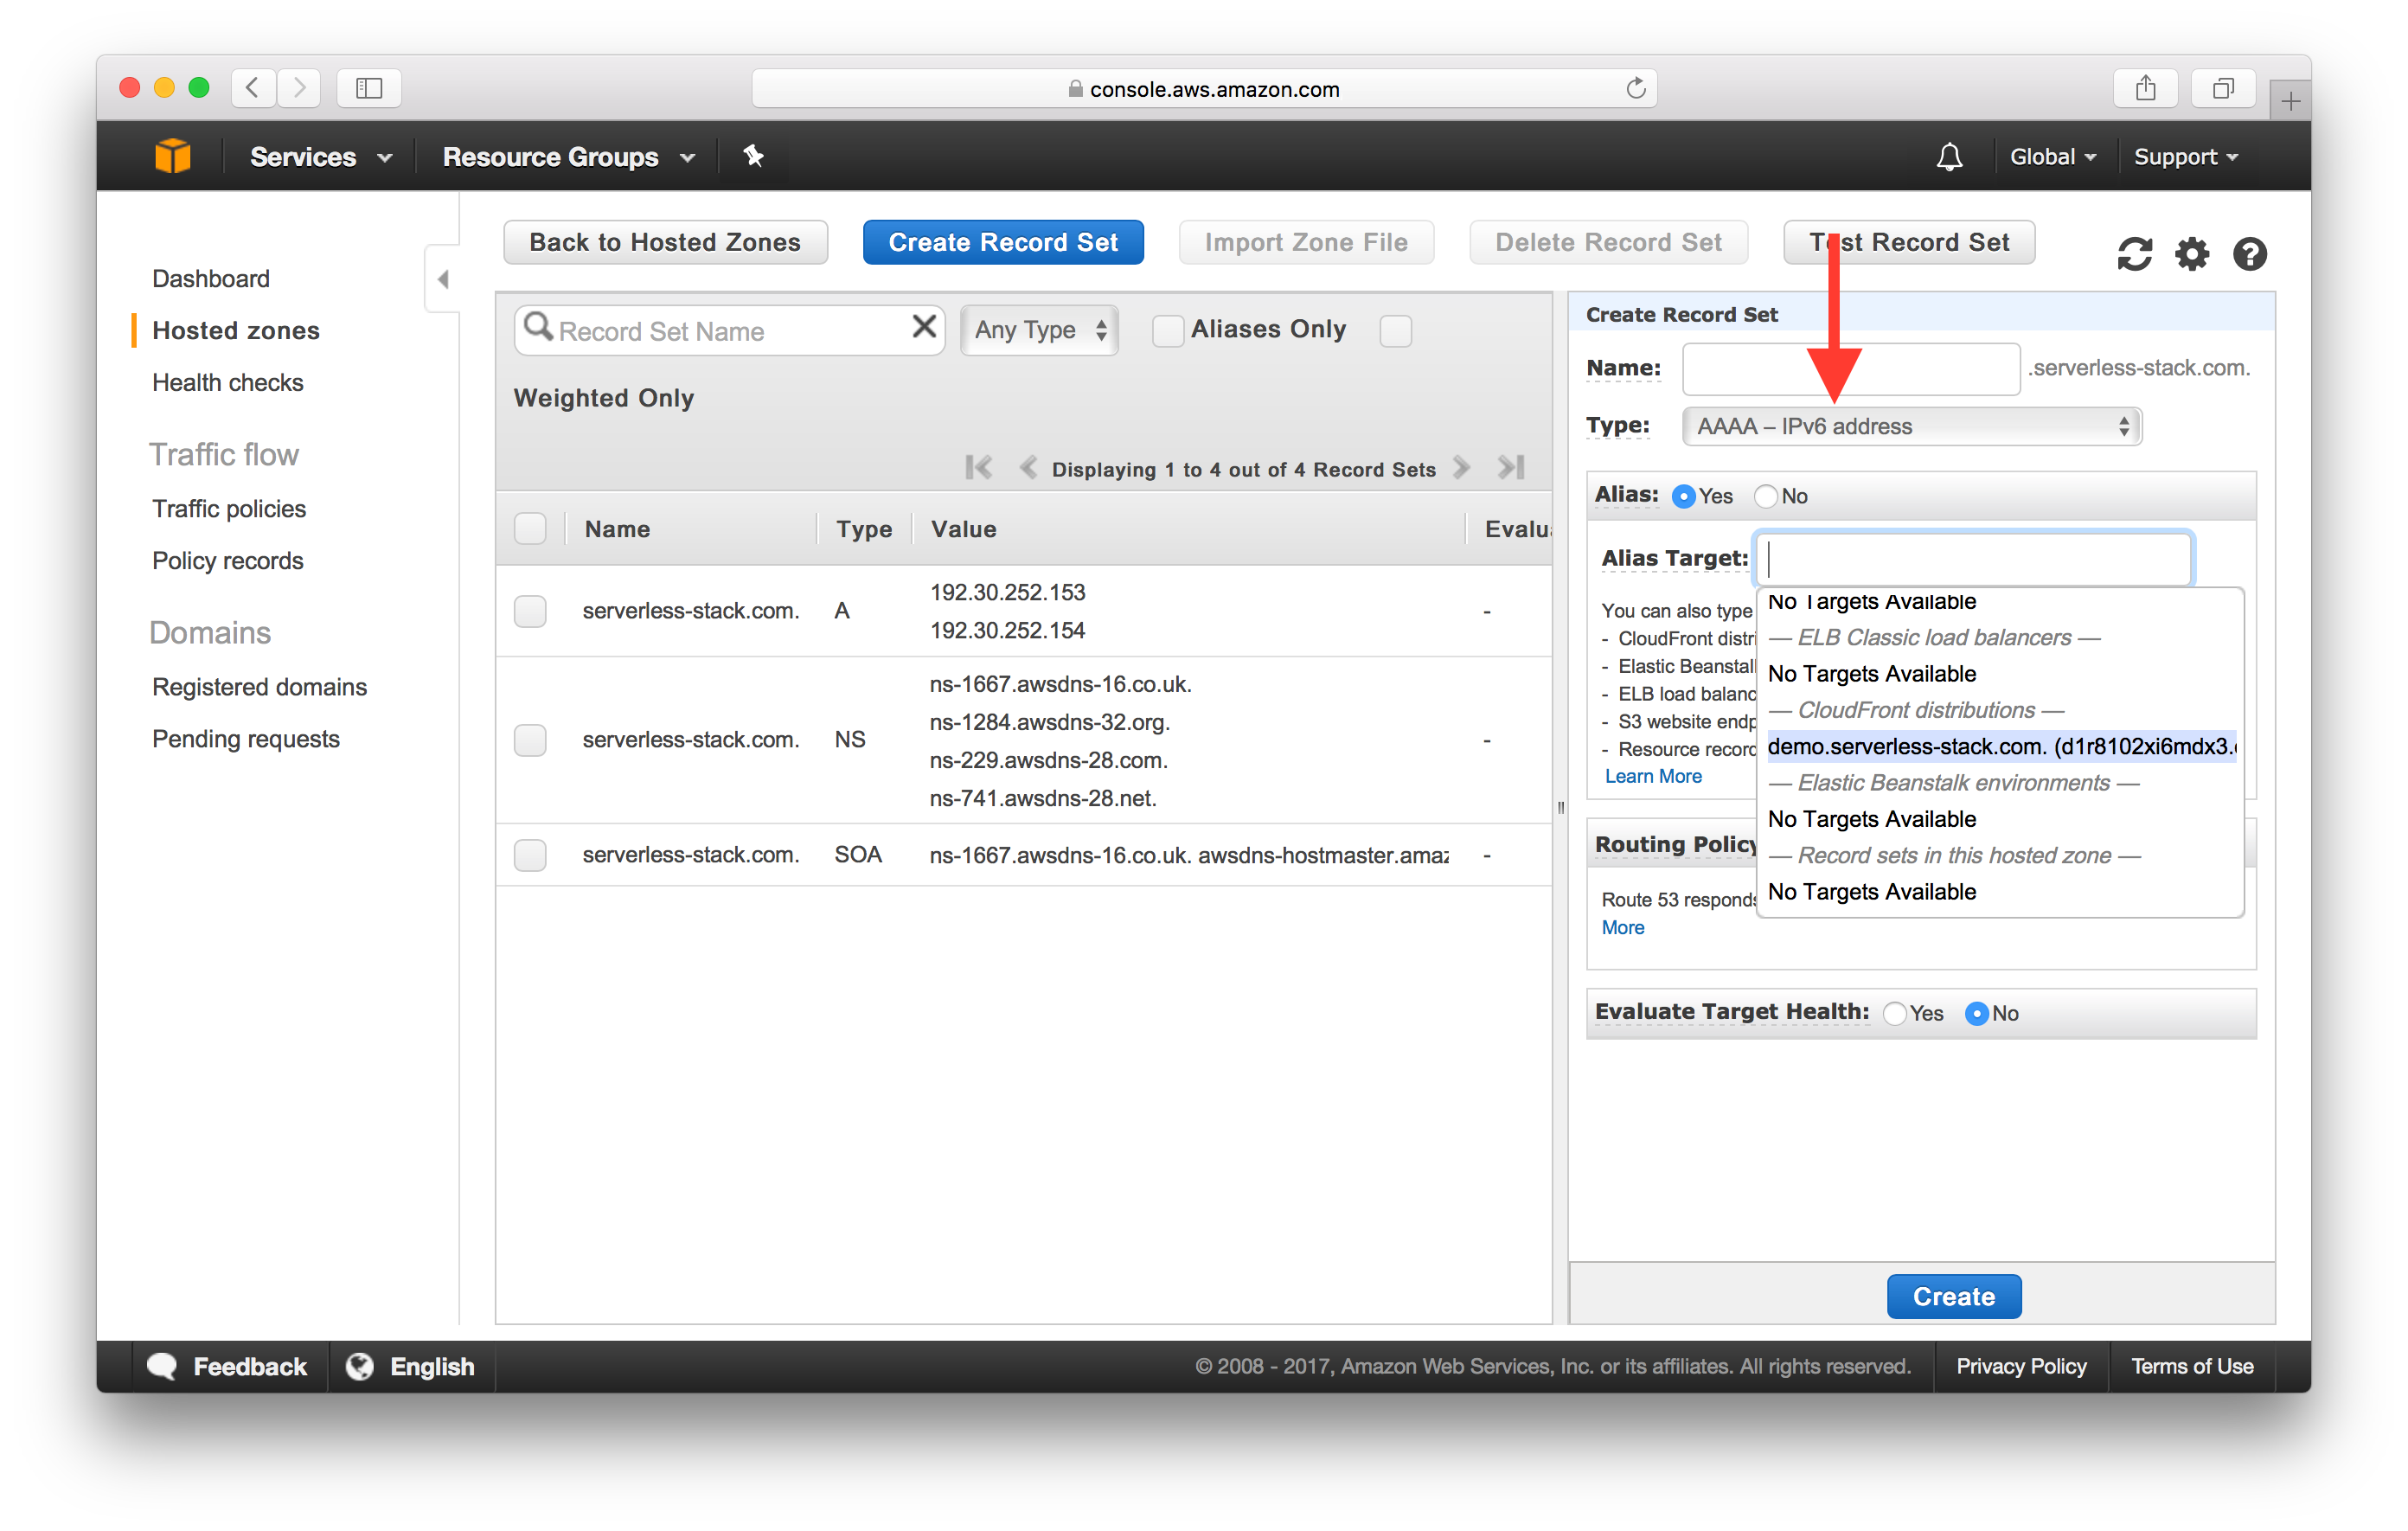
And hit Create to add your AAAA record set.
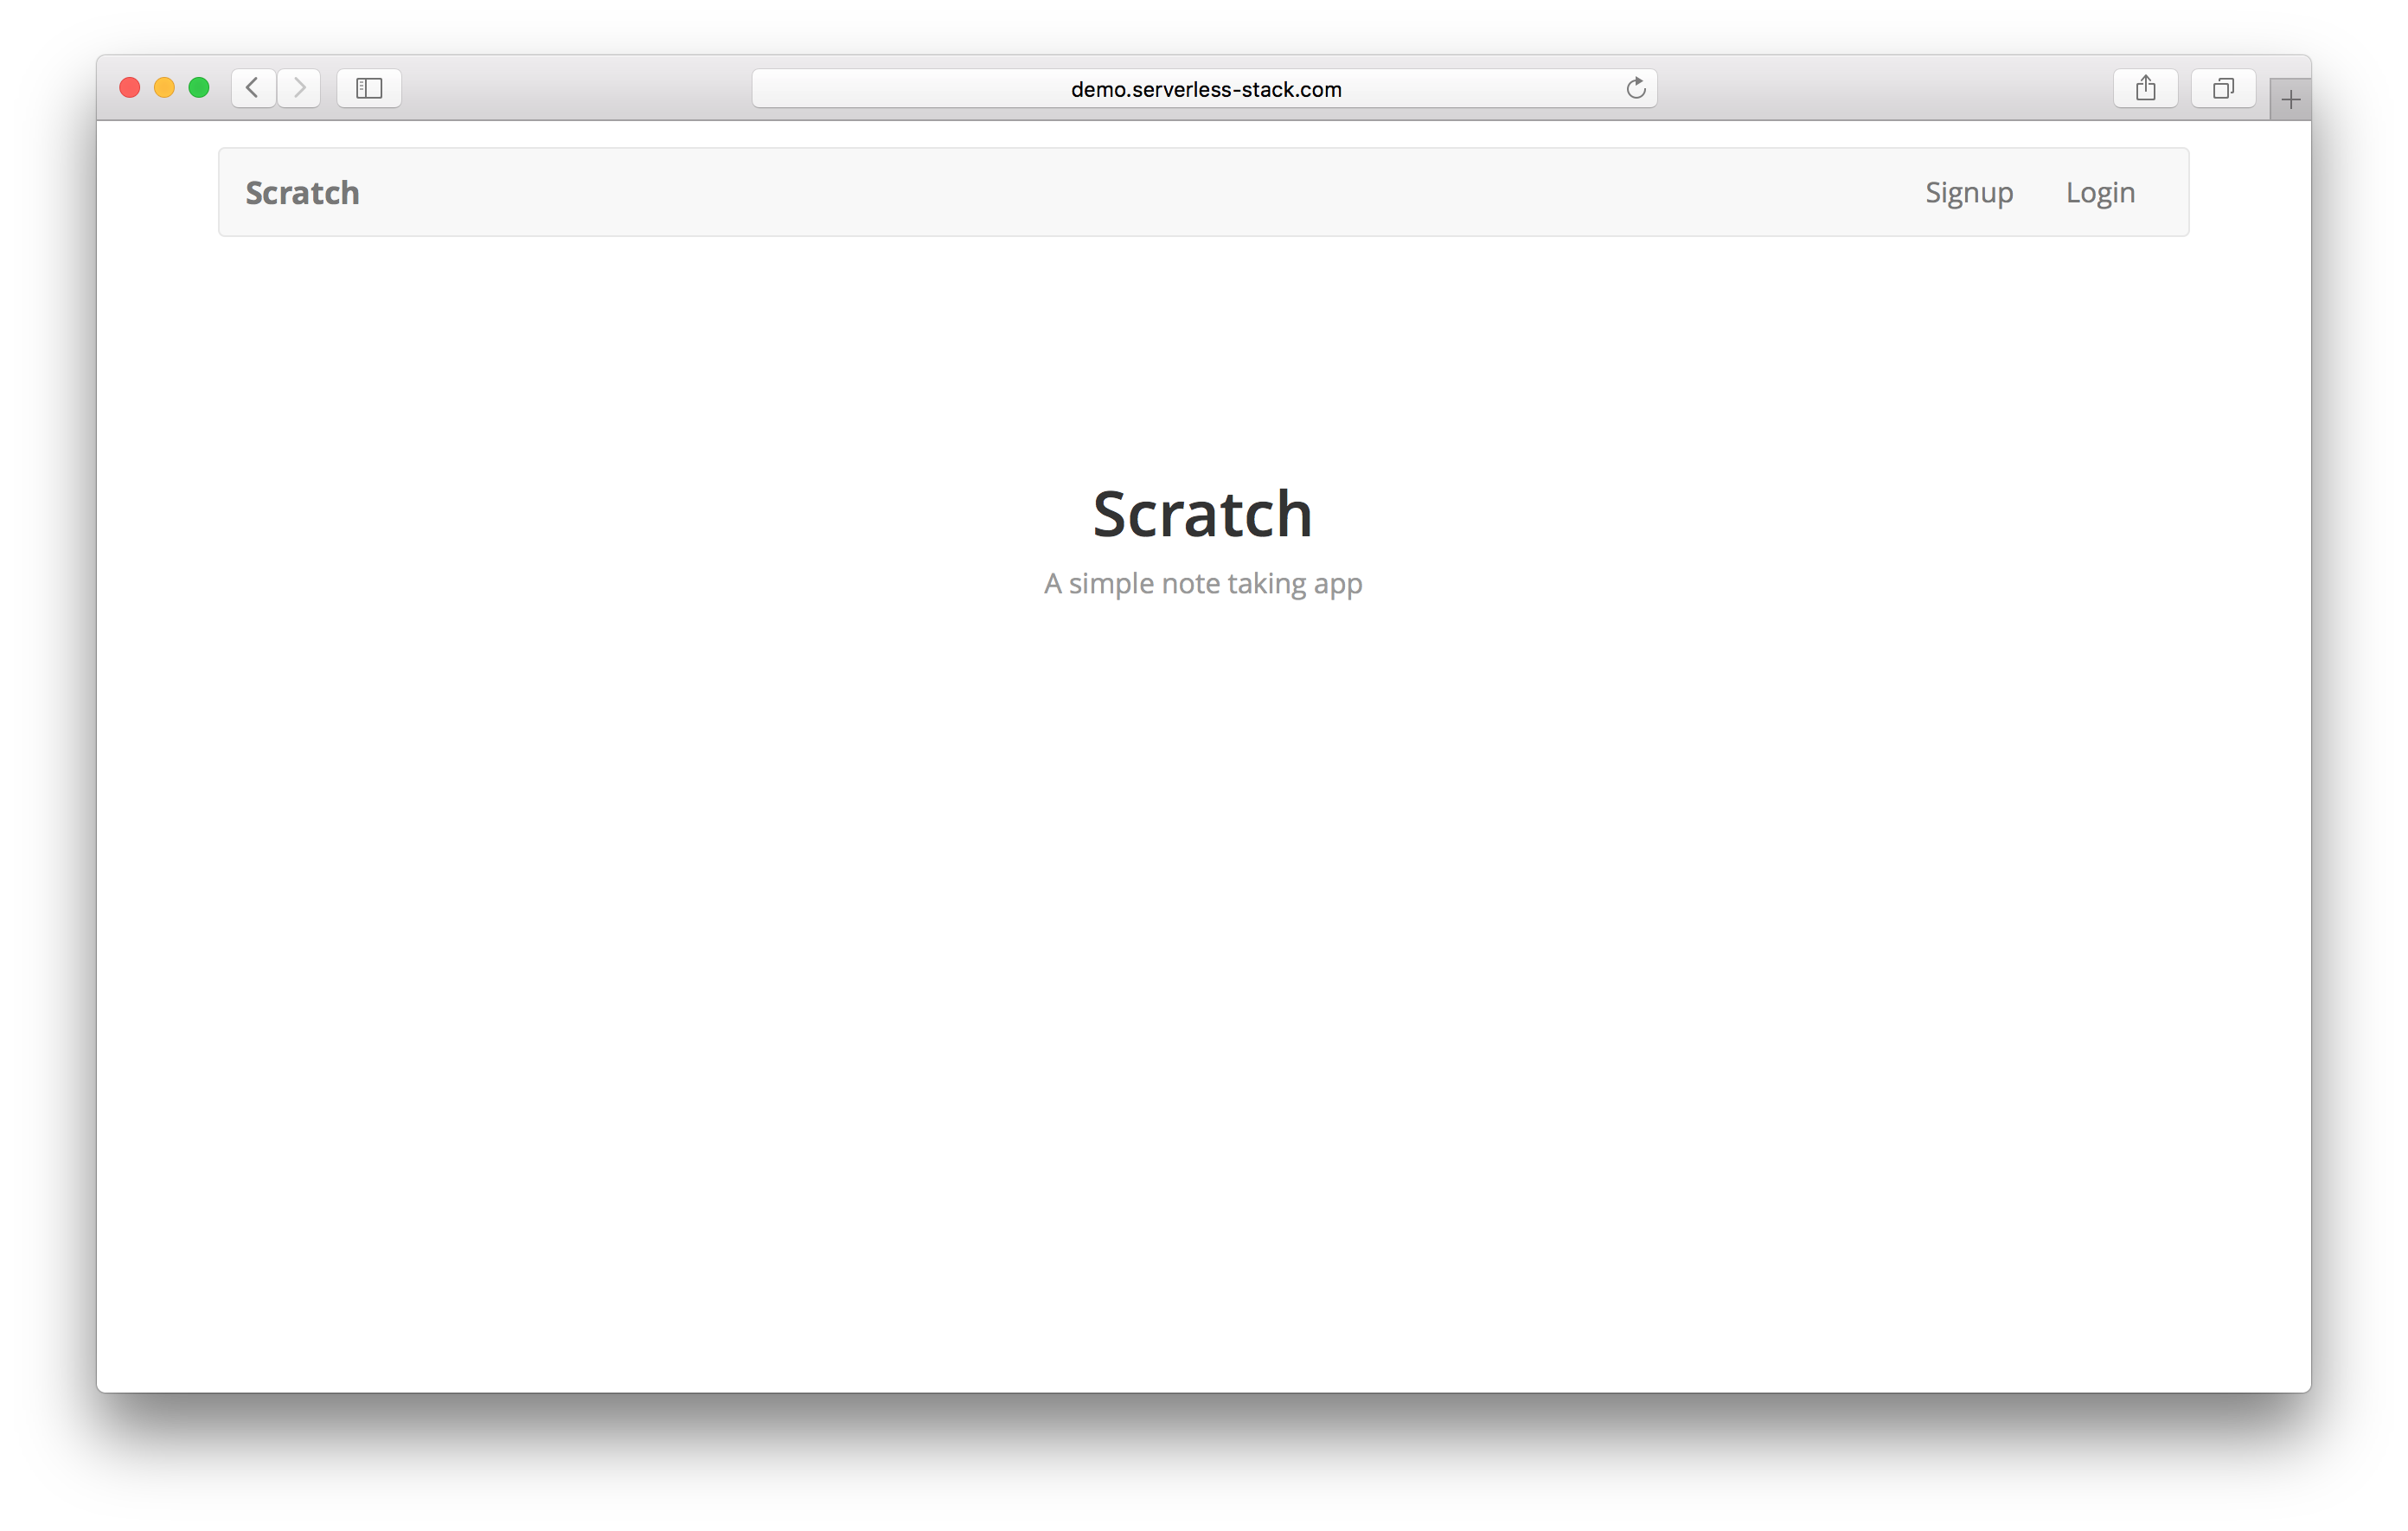
It can take around an hour to update the DNS records but once it’s done, you should be able to access your app through your domain.
Next up, we’ll take a quick look at ensuring that our www. domain also directs to our app.

If you liked this post, please subscribe to our newsletter, give us a star on GitHub, and follow us on Twitter.
For help and discussion
Comments on this chapter