Create a Settings Page
We are going to add a settings page to our app. This is going to allow users to pay for our service. The flow will look something like this:
- Users put in their credit card info and the number of notes they want to store.
- We call Stripe on the frontend to generate a token for the credit card.
- We then call our billing API with the token and the number of notes.
- Our billing API calculates the amount and bills the card!
To get started let’s add our settings page.
 Create a new file in
 src/containers/Settings.js and add the following.
import React, { Component } from "react";
import { API } from "aws-amplify";

export default class Settings extends Component {
  constructor(props) {
    super(props);

    this.state = {
      isLoading: false
    };
  }

  billUser(details) {
    return API.post("notes", "/billing", {
      body: details
    });
  }

  render() {
    return (
      <div className="Settings">
      </div>
    );
  }
}
Next import this component in the header of src/Routes.js.
import Settings from "./containers/Settings";
And replace our <Switch> block in src/Routes.js with this.
<Switch>
  <AppliedRoute path="/" exact component={Home} props={childProps} />
  <UnauthenticatedRoute path="/login" exact component={Login} props={childProps} />
  <UnauthenticatedRoute path="/signup" exact component={Signup} props={childProps} />
  <AuthenticatedRoute path="/settings" exact component={Settings} props={childProps} />
  <AuthenticatedRoute path="/notes/new" exact component={NewNote} props={childProps} />
  <AuthenticatedRoute path="/notes/:id" exact component={Notes} props={childProps} />
  { /* Finally, catch all unmatched routes */ }
  <Route component={NotFound} />
</Switch>
Notice that we added a route for our new settings page.
Next add a link to our settings page in the navbar by replacing the render method in src/App.js with this.
render() {
  const childProps = {
    isAuthenticated: this.state.isAuthenticated,
    userHasAuthenticated: this.userHasAuthenticated
  };

  return (
    !this.state.isAuthenticating &&
    <div className="App container">
      <Navbar fluid collapseOnSelect>
        <Navbar.Header>
          <Navbar.Brand>
            <Link to="/">Scratch</Link>
          </Navbar.Brand>
          <Navbar.Toggle />
        </Navbar.Header>
        <Navbar.Collapse>
          <Nav pullRight>
            {this.state.isAuthenticated
              ? <Fragment>
                  <LinkContainer to="/settings">
                    <NavItem>Settings</NavItem>
                  </LinkContainer>
                  <NavItem onClick={this.handleLogout}>Logout</NavItem>
                </Fragment>
              : <Fragment>
                  <LinkContainer to="/signup">
                    <NavItem>Signup</NavItem>
                  </LinkContainer>
                  <LinkContainer to="/login">
                    <NavItem>Login</NavItem>
                  </LinkContainer>
                </Fragment>
            }
          </Nav>
        </Navbar.Collapse>
      </Navbar>
      <Routes childProps={childProps} />
    </div>
  );
}
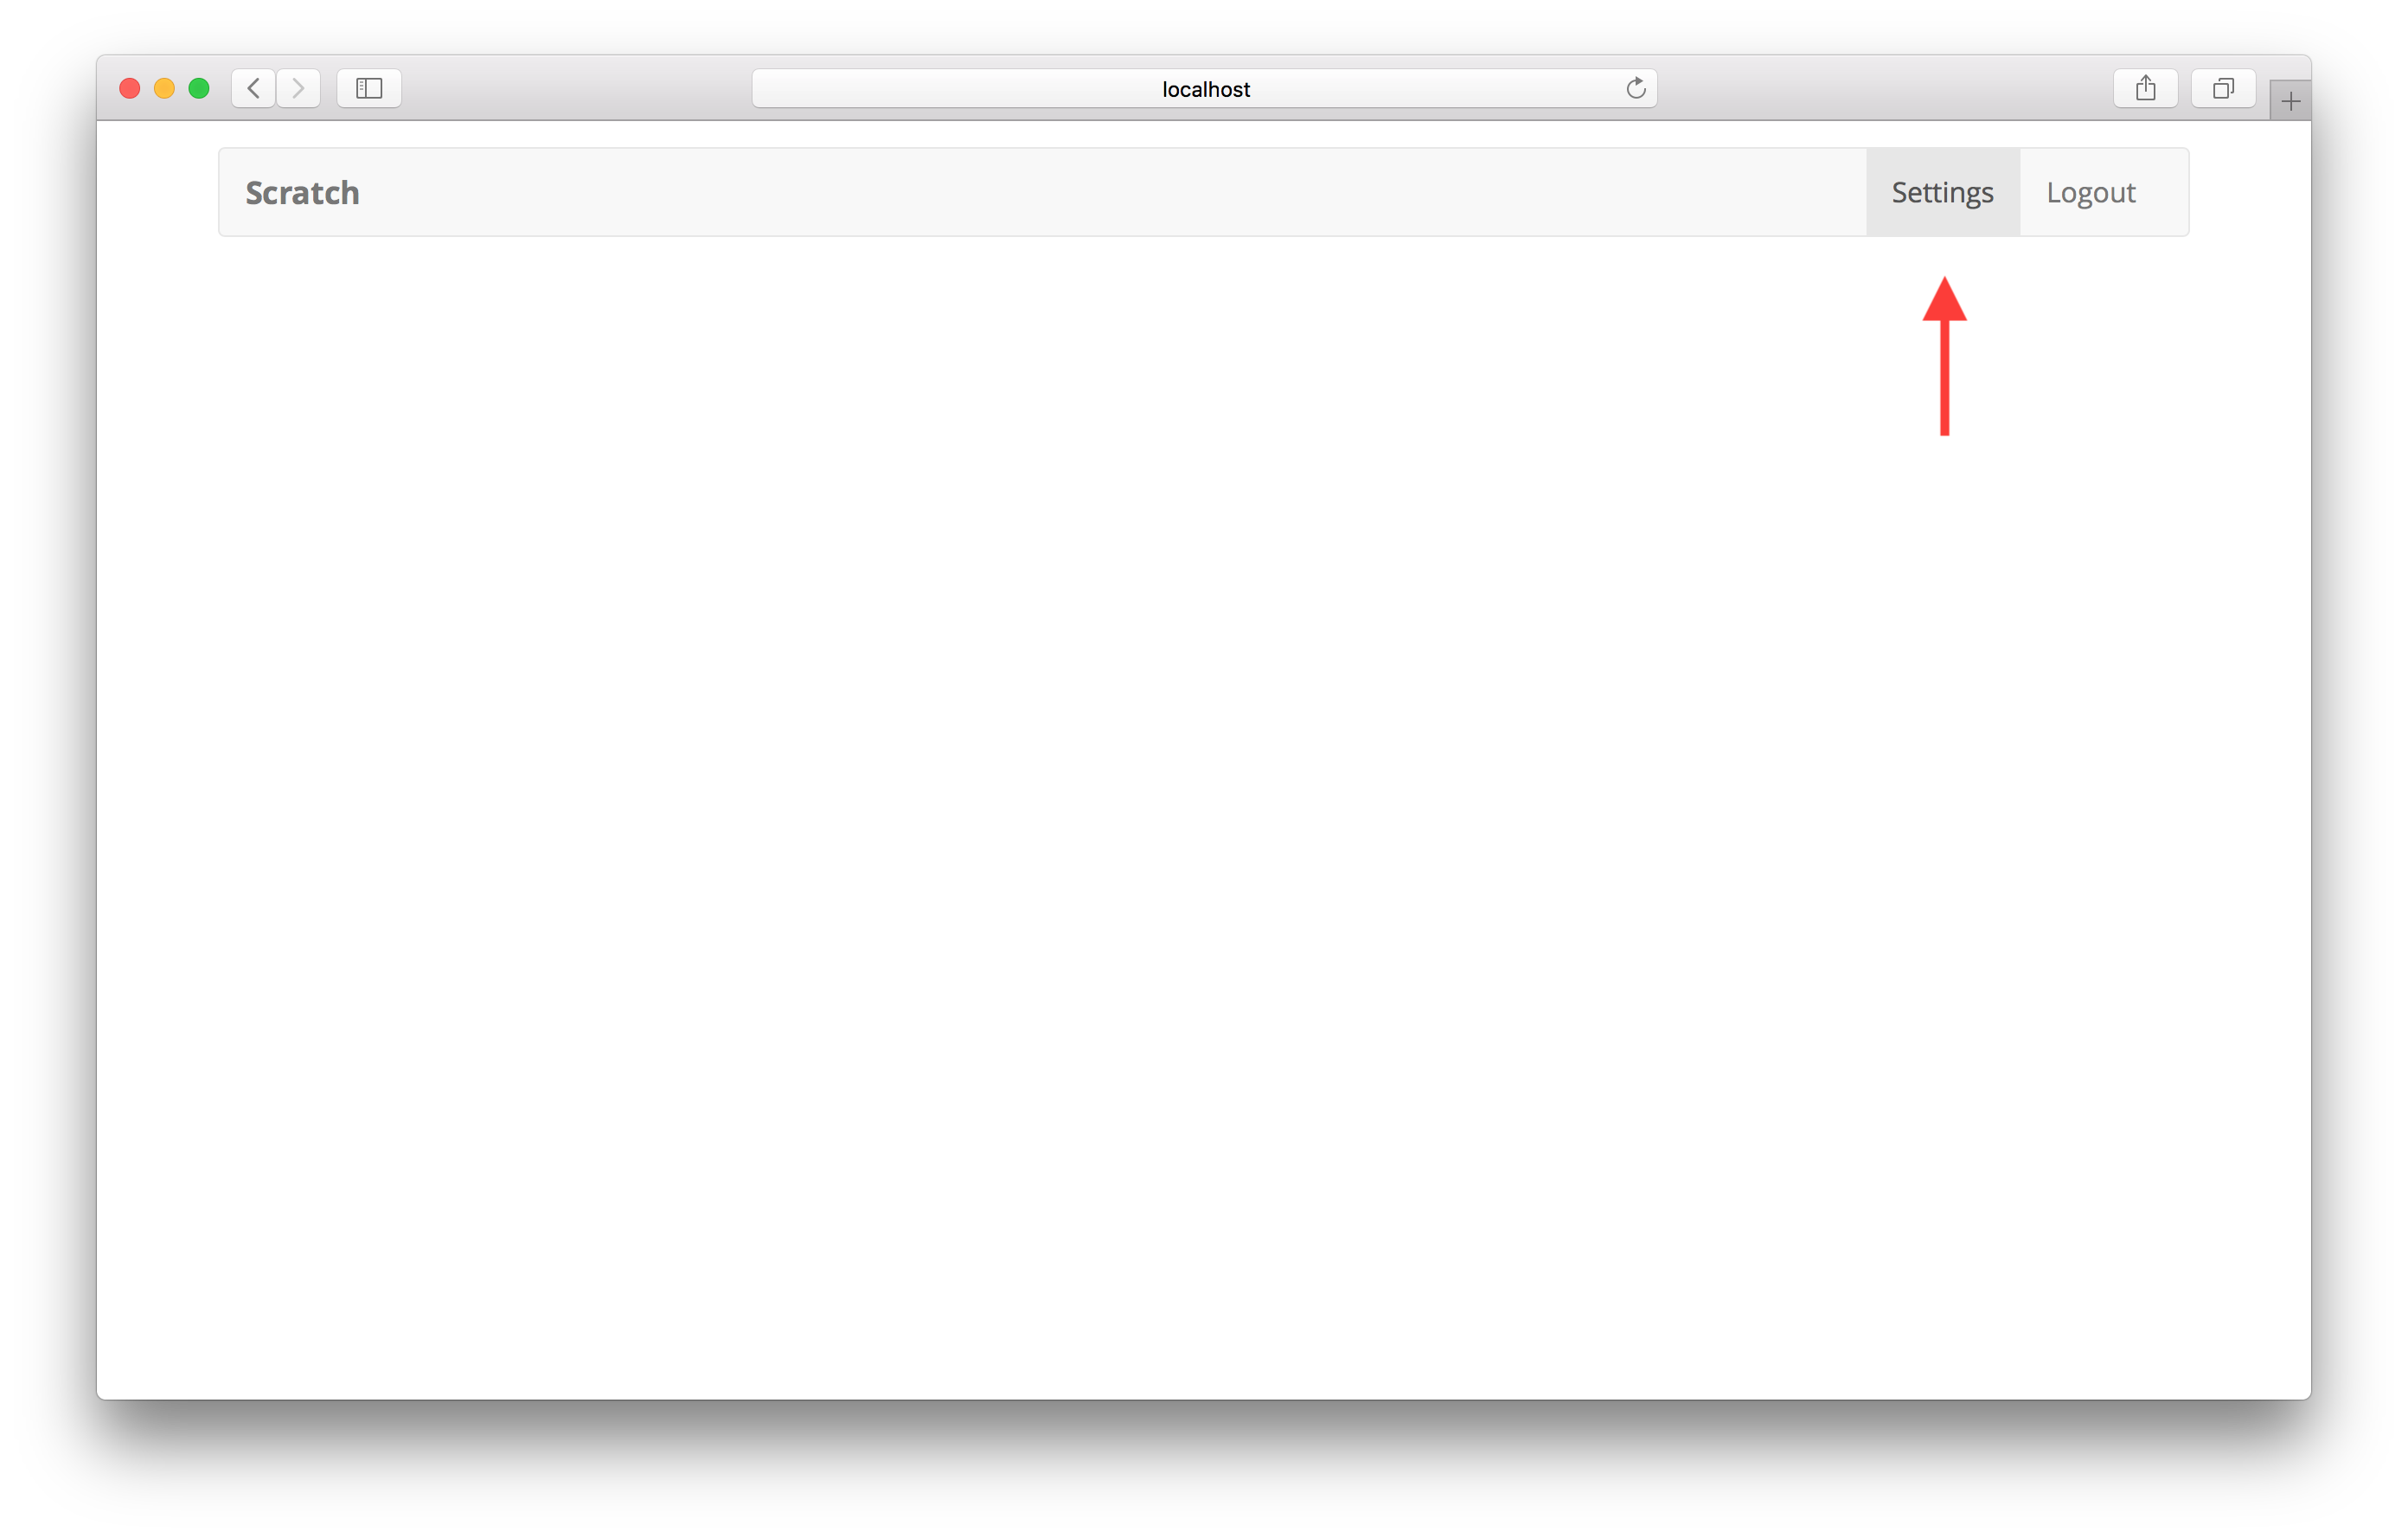
You’ll notice that we added another link in the navbar for the case a user is logged in.
Now if you head over to your app, you’ll see a new Settings link at the top. Of course, the page is pretty empty right now.
Commit the Changes
Let’s quickly commit these to Git.
$ git add .
$ git commit -m "Adding settings page"
Next, we’ll add our Stripe SDK keys to our config.

If you liked this post, please subscribe to our newsletter, give us a star on GitHub, and follow us on Twitter.
For help and discussion
Comments on this chapter