Connect the Billing Form
Now all we have left to do is to connect our billing form to our billing API.
Let’s start by including Stripe.js in our HTML.
 Append the following the the
 <head> block in our public/index.html.
<script src="https://js.stripe.com/v3/"></script>
Replace our render method in src/containers/Settings.js with this.
handleFormSubmit = async (storage, { token, error }) => {
  if (error) {
    alert(error);
    return;
  }

  this.setState({ isLoading: true });

  try {
    await this.billUser({
      storage,
      source: token.id
    });

    alert("Your card has been charged successfully!");
    this.props.history.push("/");
  } catch (e) {
    alert(e);
    this.setState({ isLoading: false });
  }
}

render() {
  return (
    <div className="Settings">
      <StripeProvider apiKey={config.STRIPE_KEY}>
        <Elements>
          <BillingForm
            loading={this.state.isLoading}
            onSubmit={this.handleFormSubmit}
          />
        </Elements>
      </StripeProvider>
    </div>
  );
}
And add the following to the header.
import { Elements, StripeProvider } from "react-stripe-elements";
import BillingForm from "../components/BillingForm";
import config from "../config";
import "./Settings.css";
We are adding the BillingForm component that we previously created here and passing in the loading and onSubmit prop that we referenced in the last chapter. In the handleFormSubmit method, we are checking if the Stripe method from the last chapter returned an error. And if things looked okay then we call our billing API and redirect to the home page after letting the user know.
An important detail here is about the StripeProvider and the Elements component that we are using. The StripeProvider component let’s the Stripe SDK know that we want to call the Stripe methods using config.STRIPE_KEY. And it needs to wrap around at the top level of our billing form. Similarly, the Elements component needs to wrap around any component that is going to be using the CardElement Stripe component.
Finally, let’s handle some styles for our settings page as a whole.
Add the following to src/containers/Settings.css.
@media all and (min-width: 480px) {
  .Settings {
    padding: 60px 0;
  }

  .Settings form {
    margin: 0 auto;
    max-width: 480px;
  }
}
This ensures that our form displays properly for larger screens.

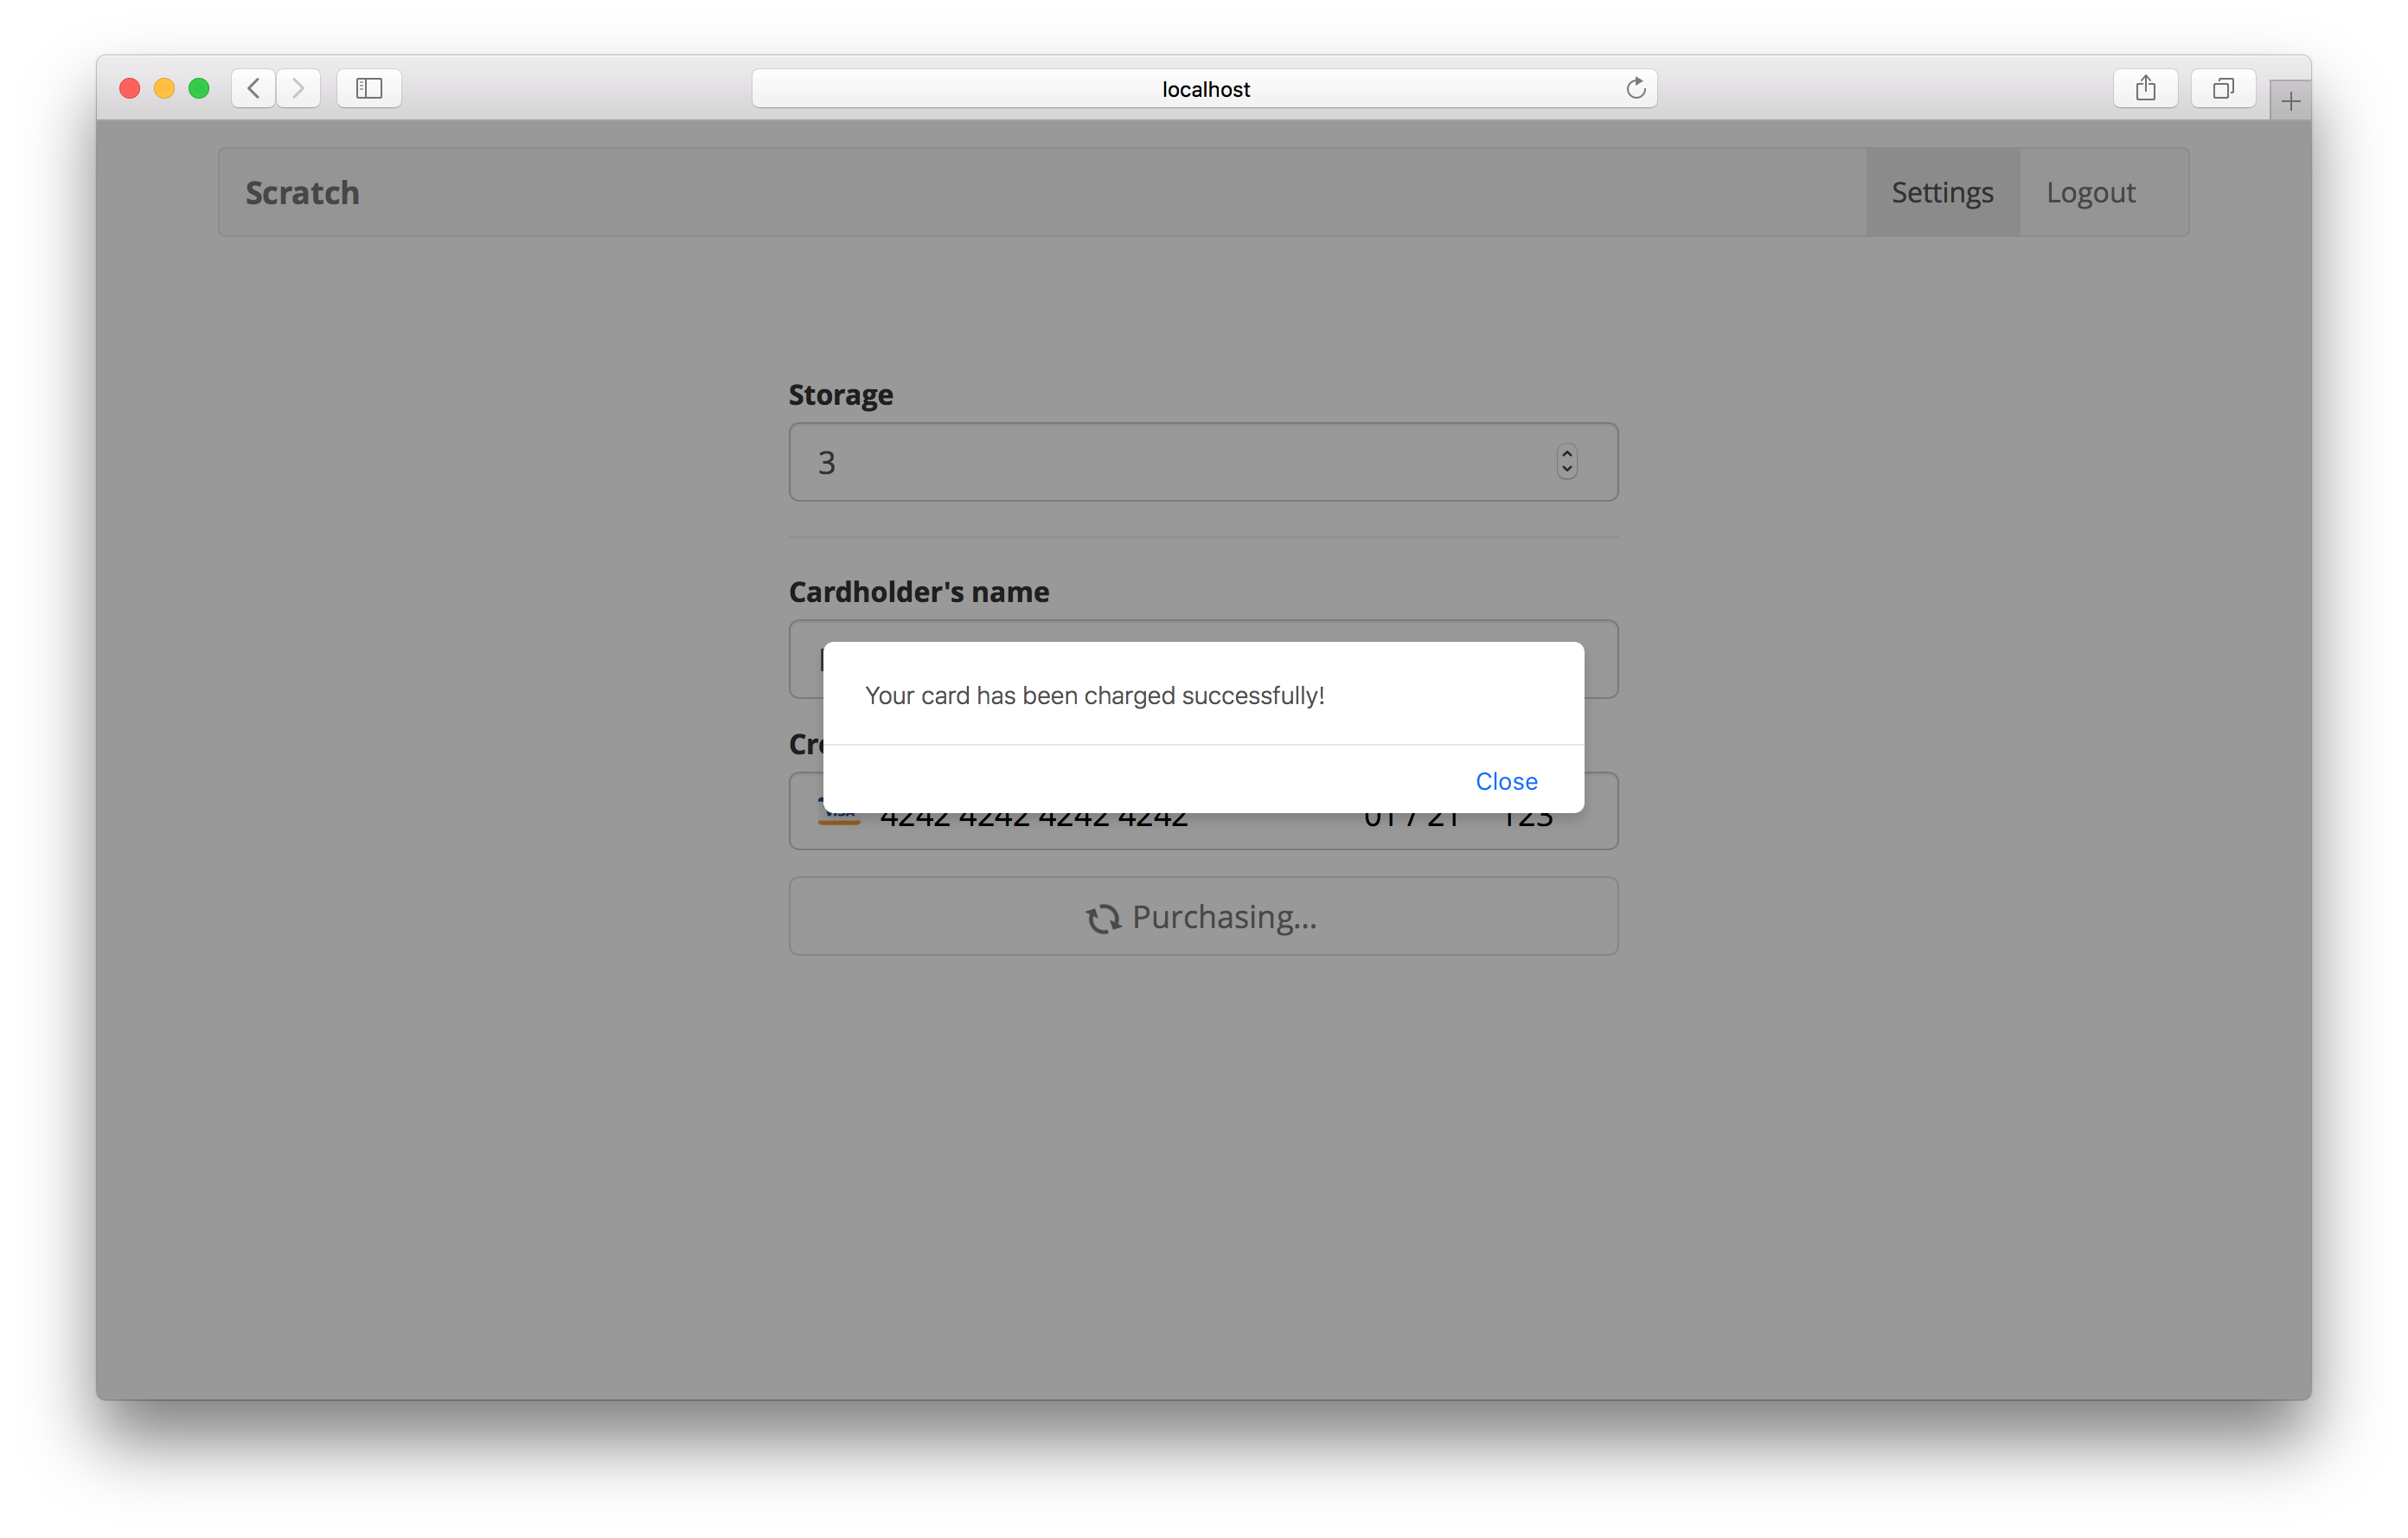
And that’s it. We are ready to test our Stripe form. Head over to your browser and try picking the number of notes you want to store and use the following for your card details:
- A Stripe test card number is
4242 4242 4242 4242. - You can use any valid expiry date, security code, and zip code.
- And set any name.
You can read more about the Stripe test cards in the Stripe API Docs here.
If everything is set correctly, you should see the success message and you’ll be redirected to the homepage.
Commit the Changes
Let’s quickly commit these to Git.
$ git add .
$ git commit -m "Connecting the billing form"
Next, we’ll set up automatic deployments for our React app using a service called Netlify. This will be fairly similar to what we did for our serverless backend API.

If you liked this post, please subscribe to our newsletter, give us a star on GitHub, and follow us on Twitter.
For help and discussion
Comments on this chapter